Product Details
- Brand: Curt
- Model: 11408 56259-CH3458
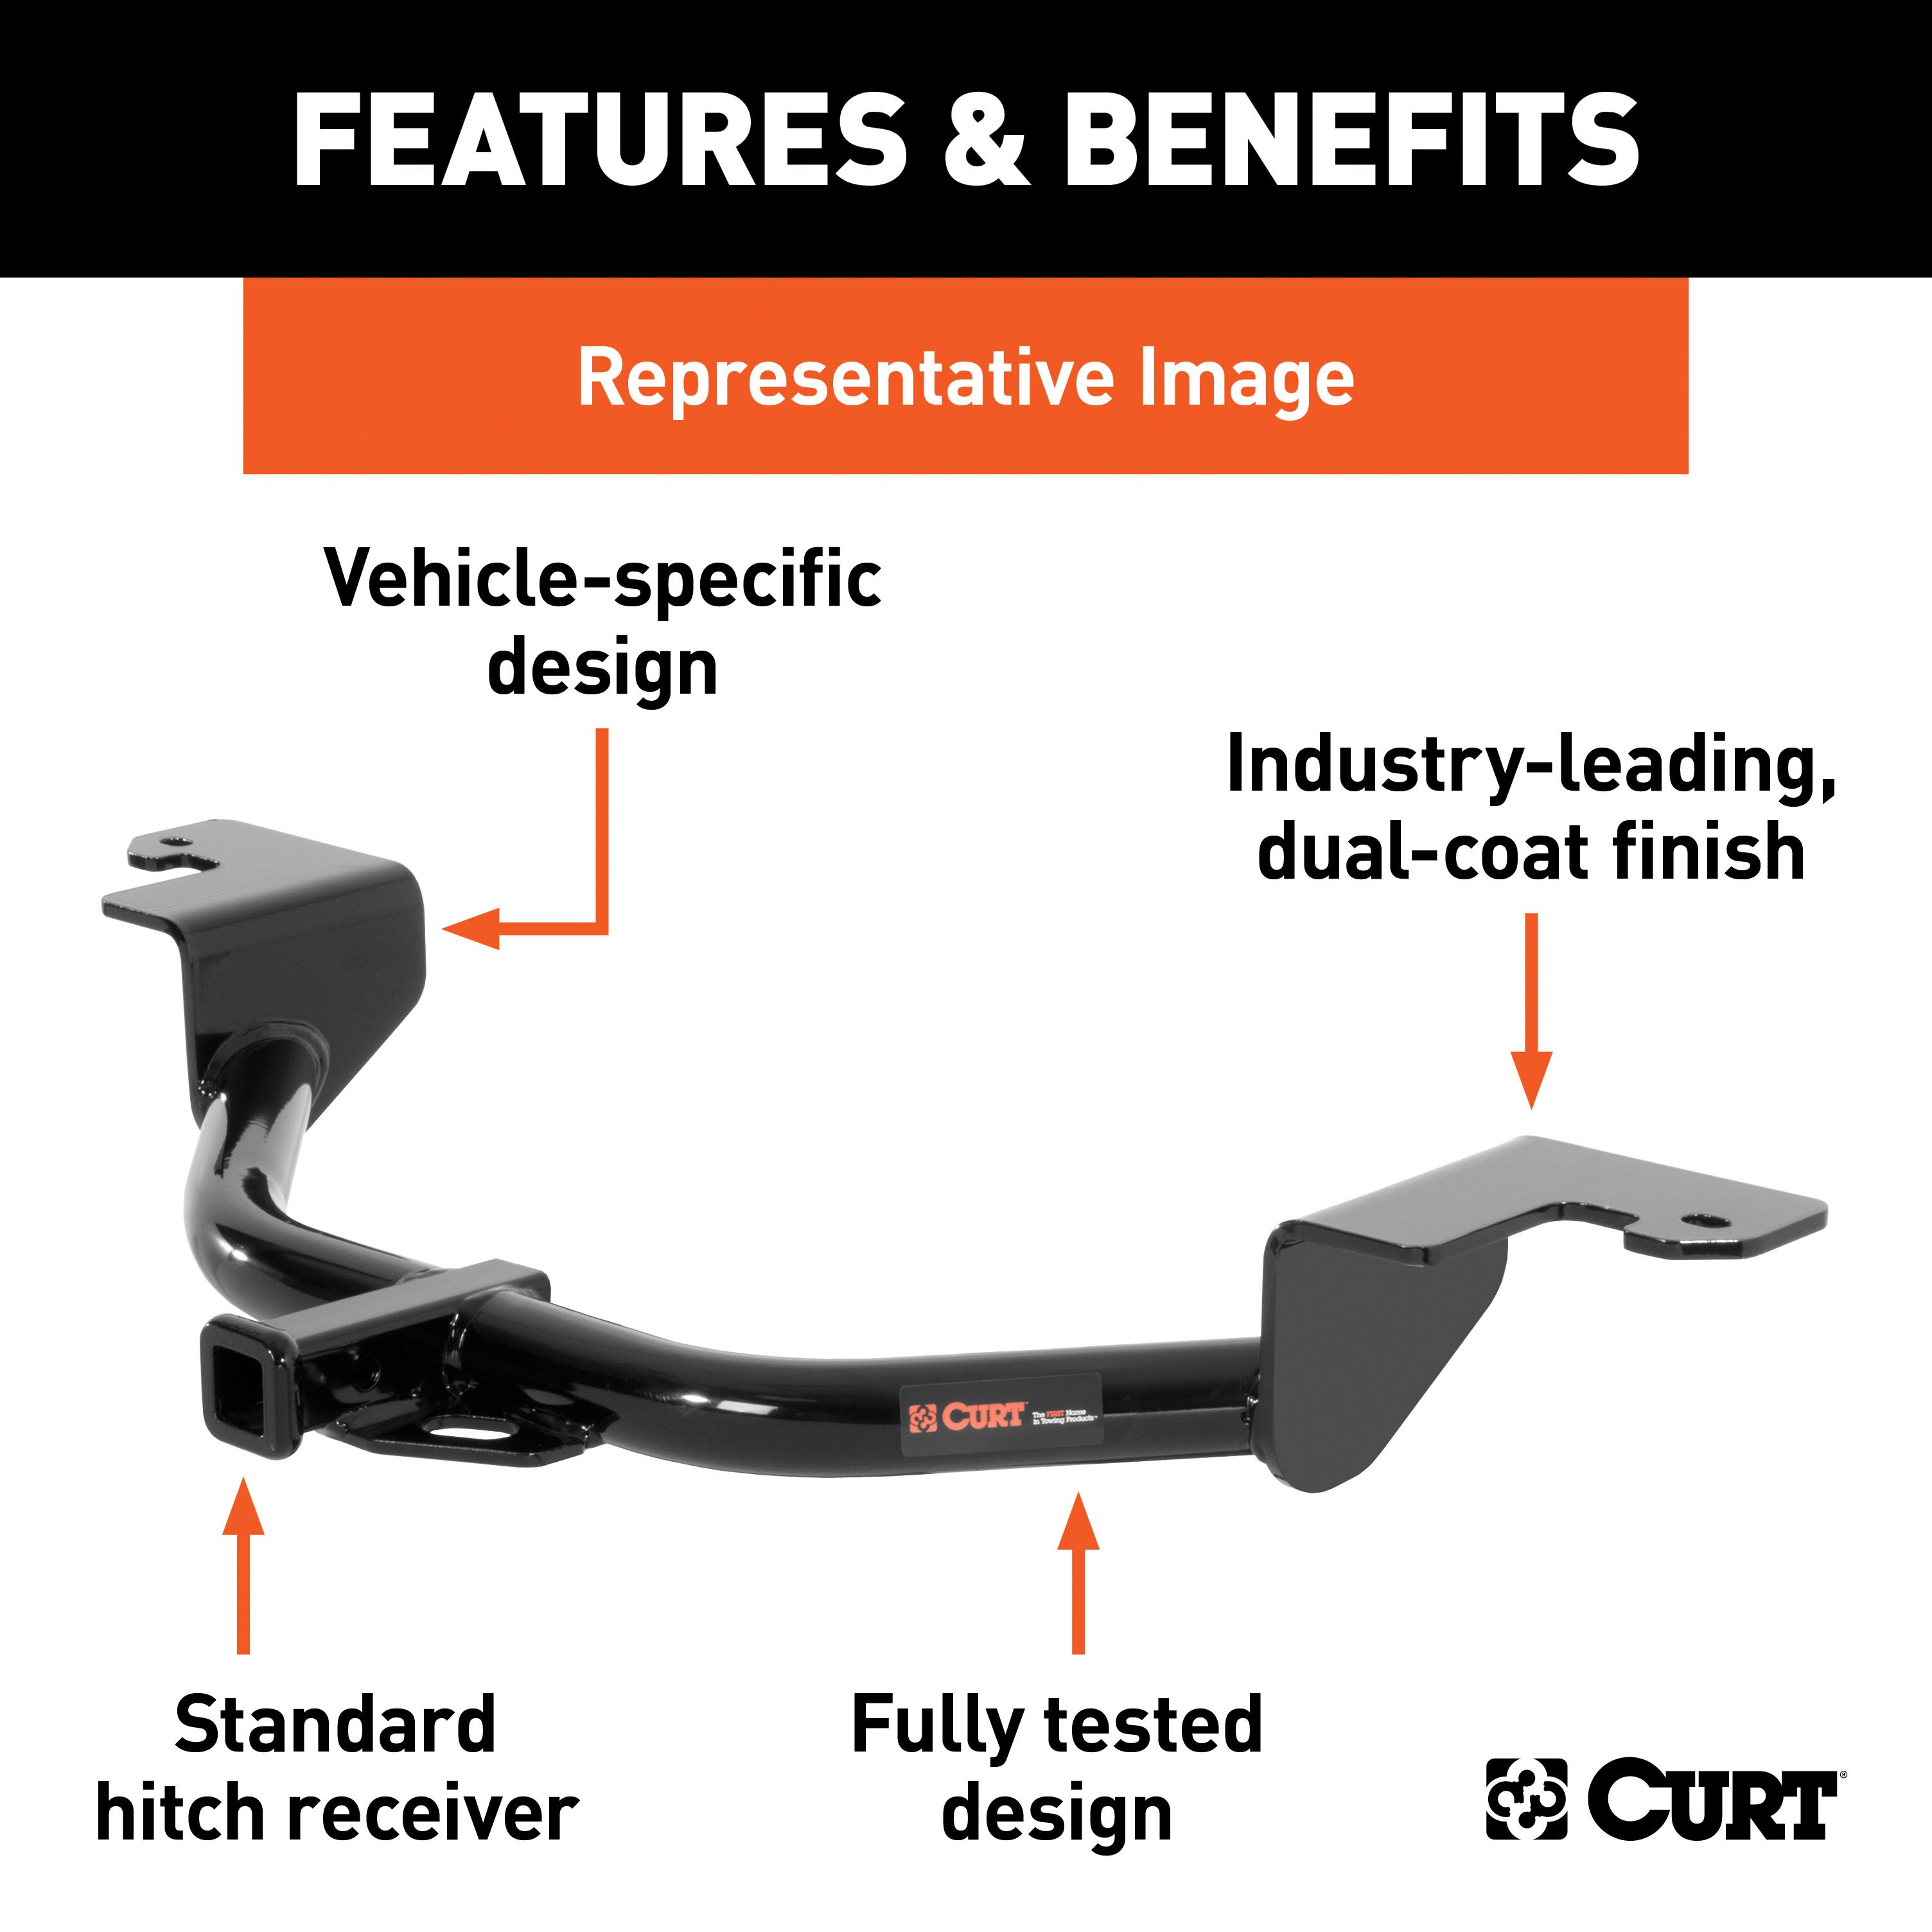
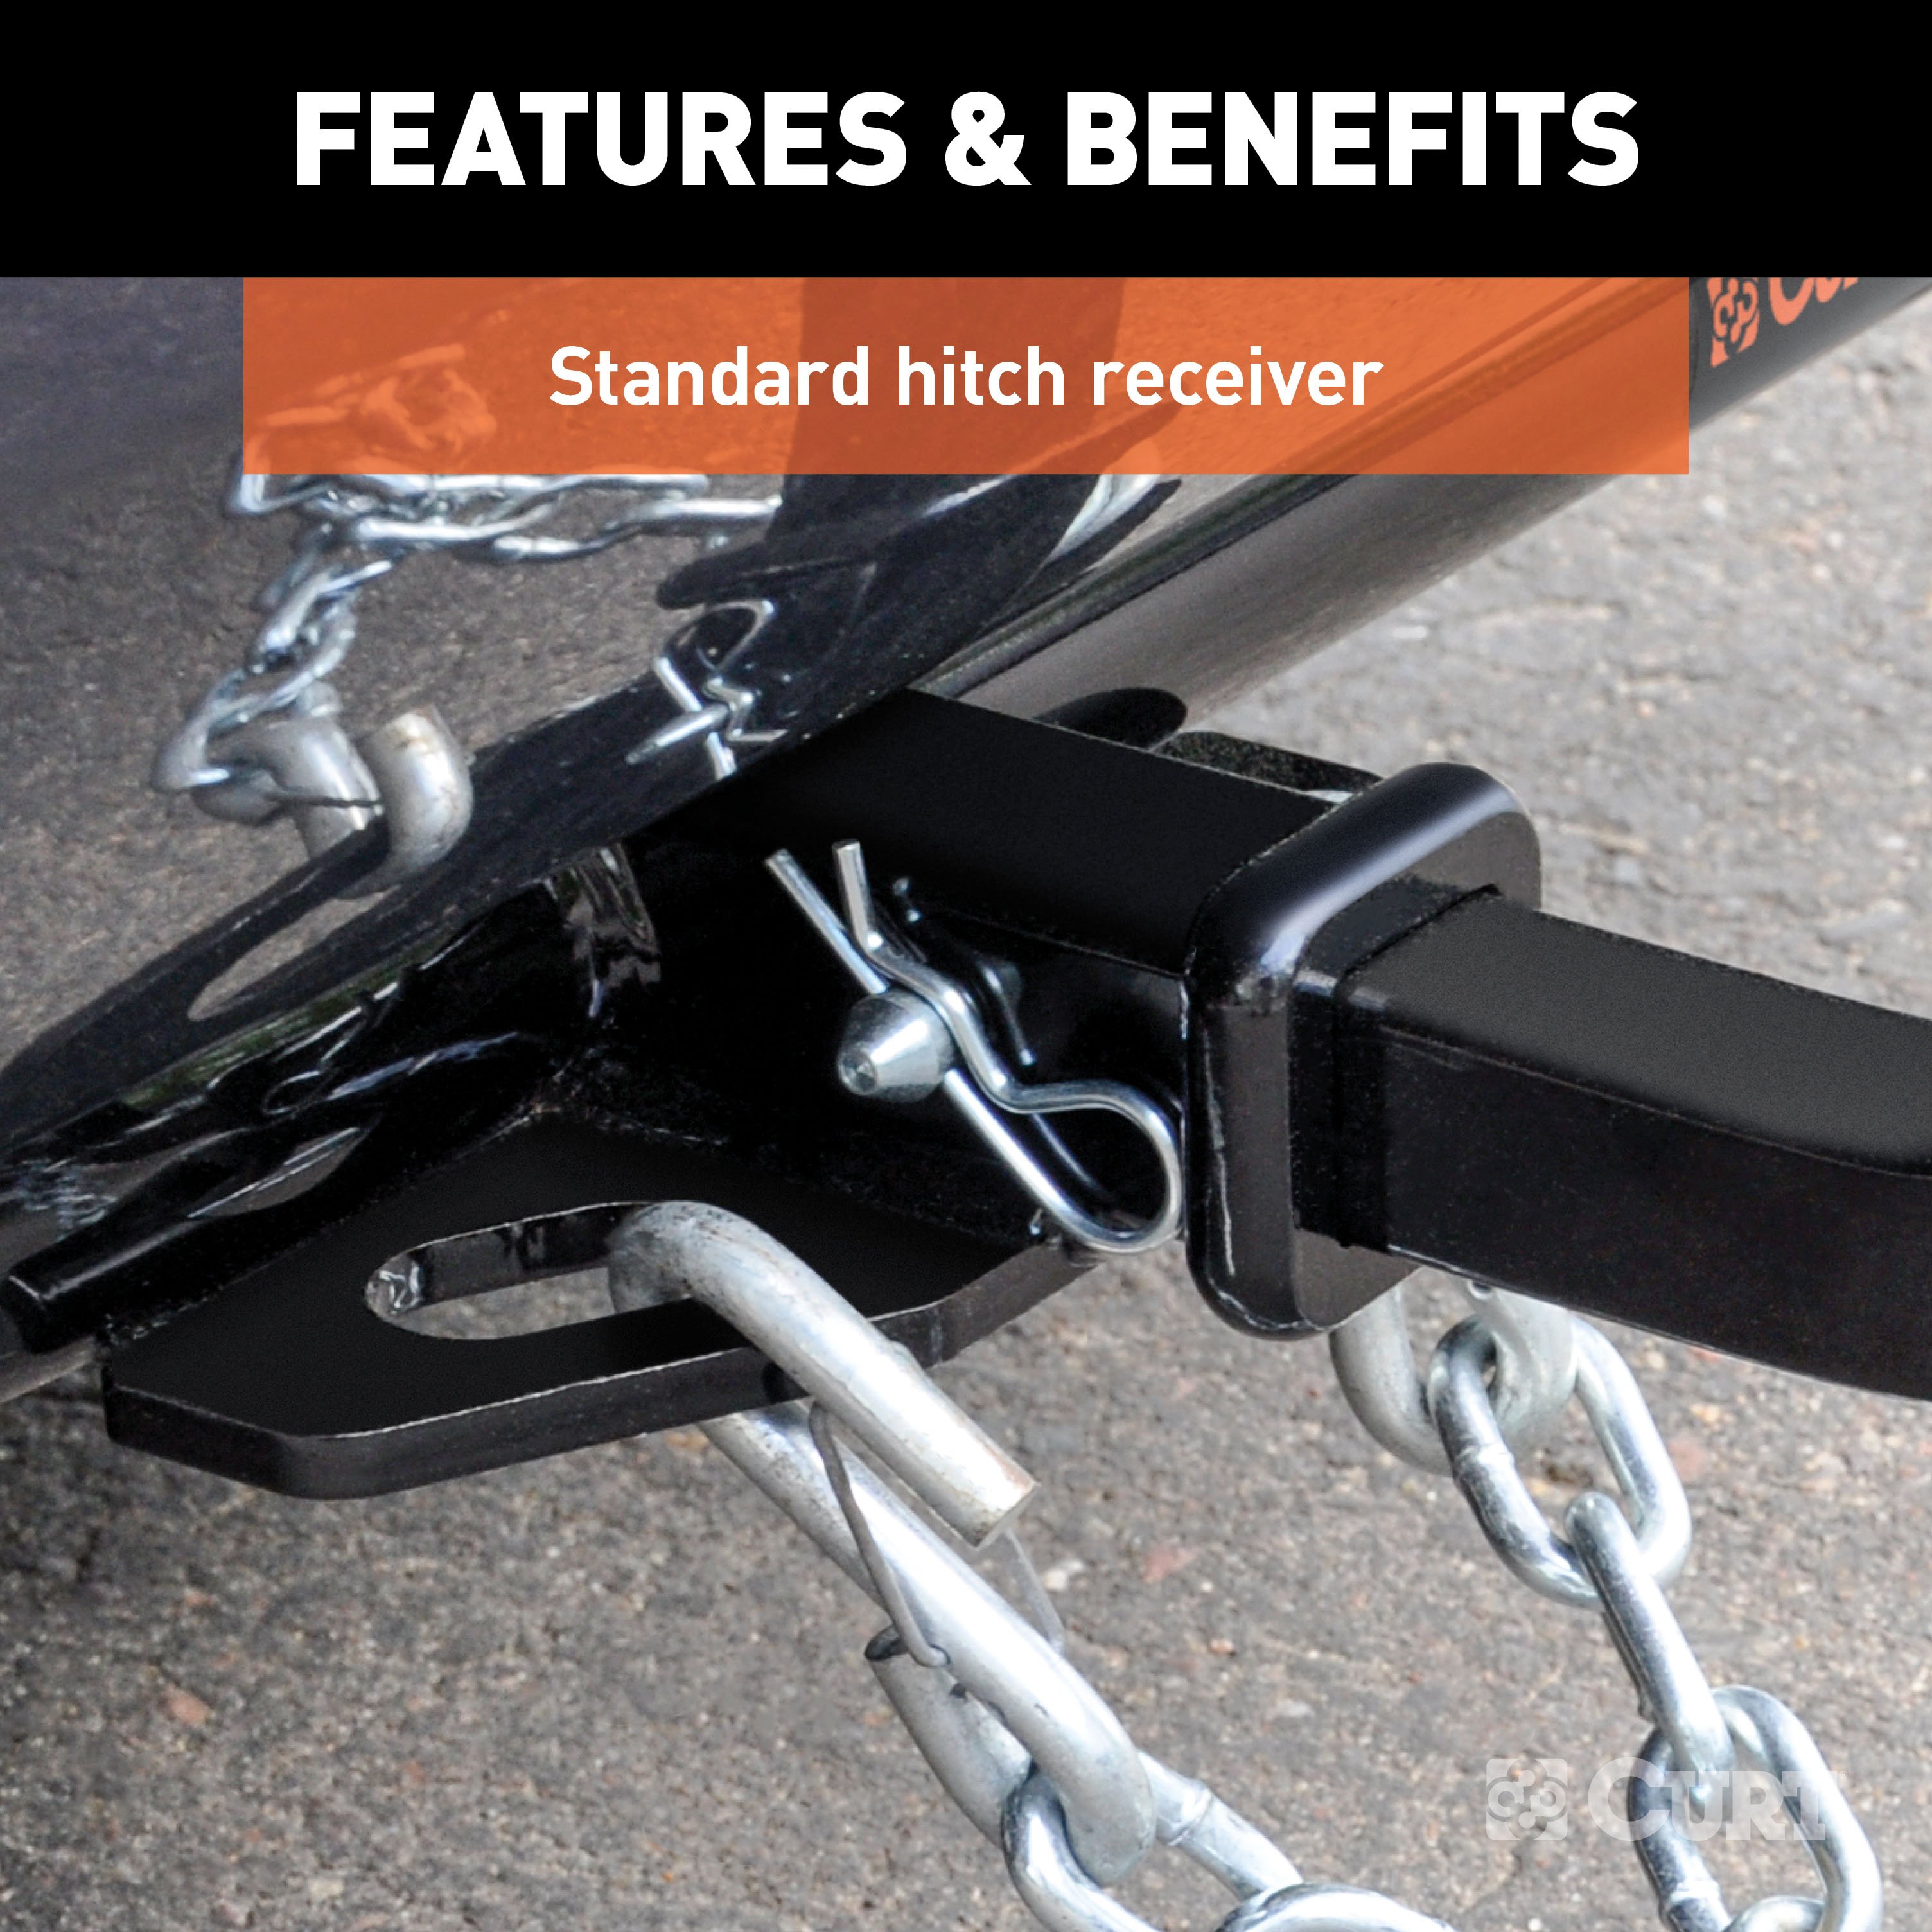
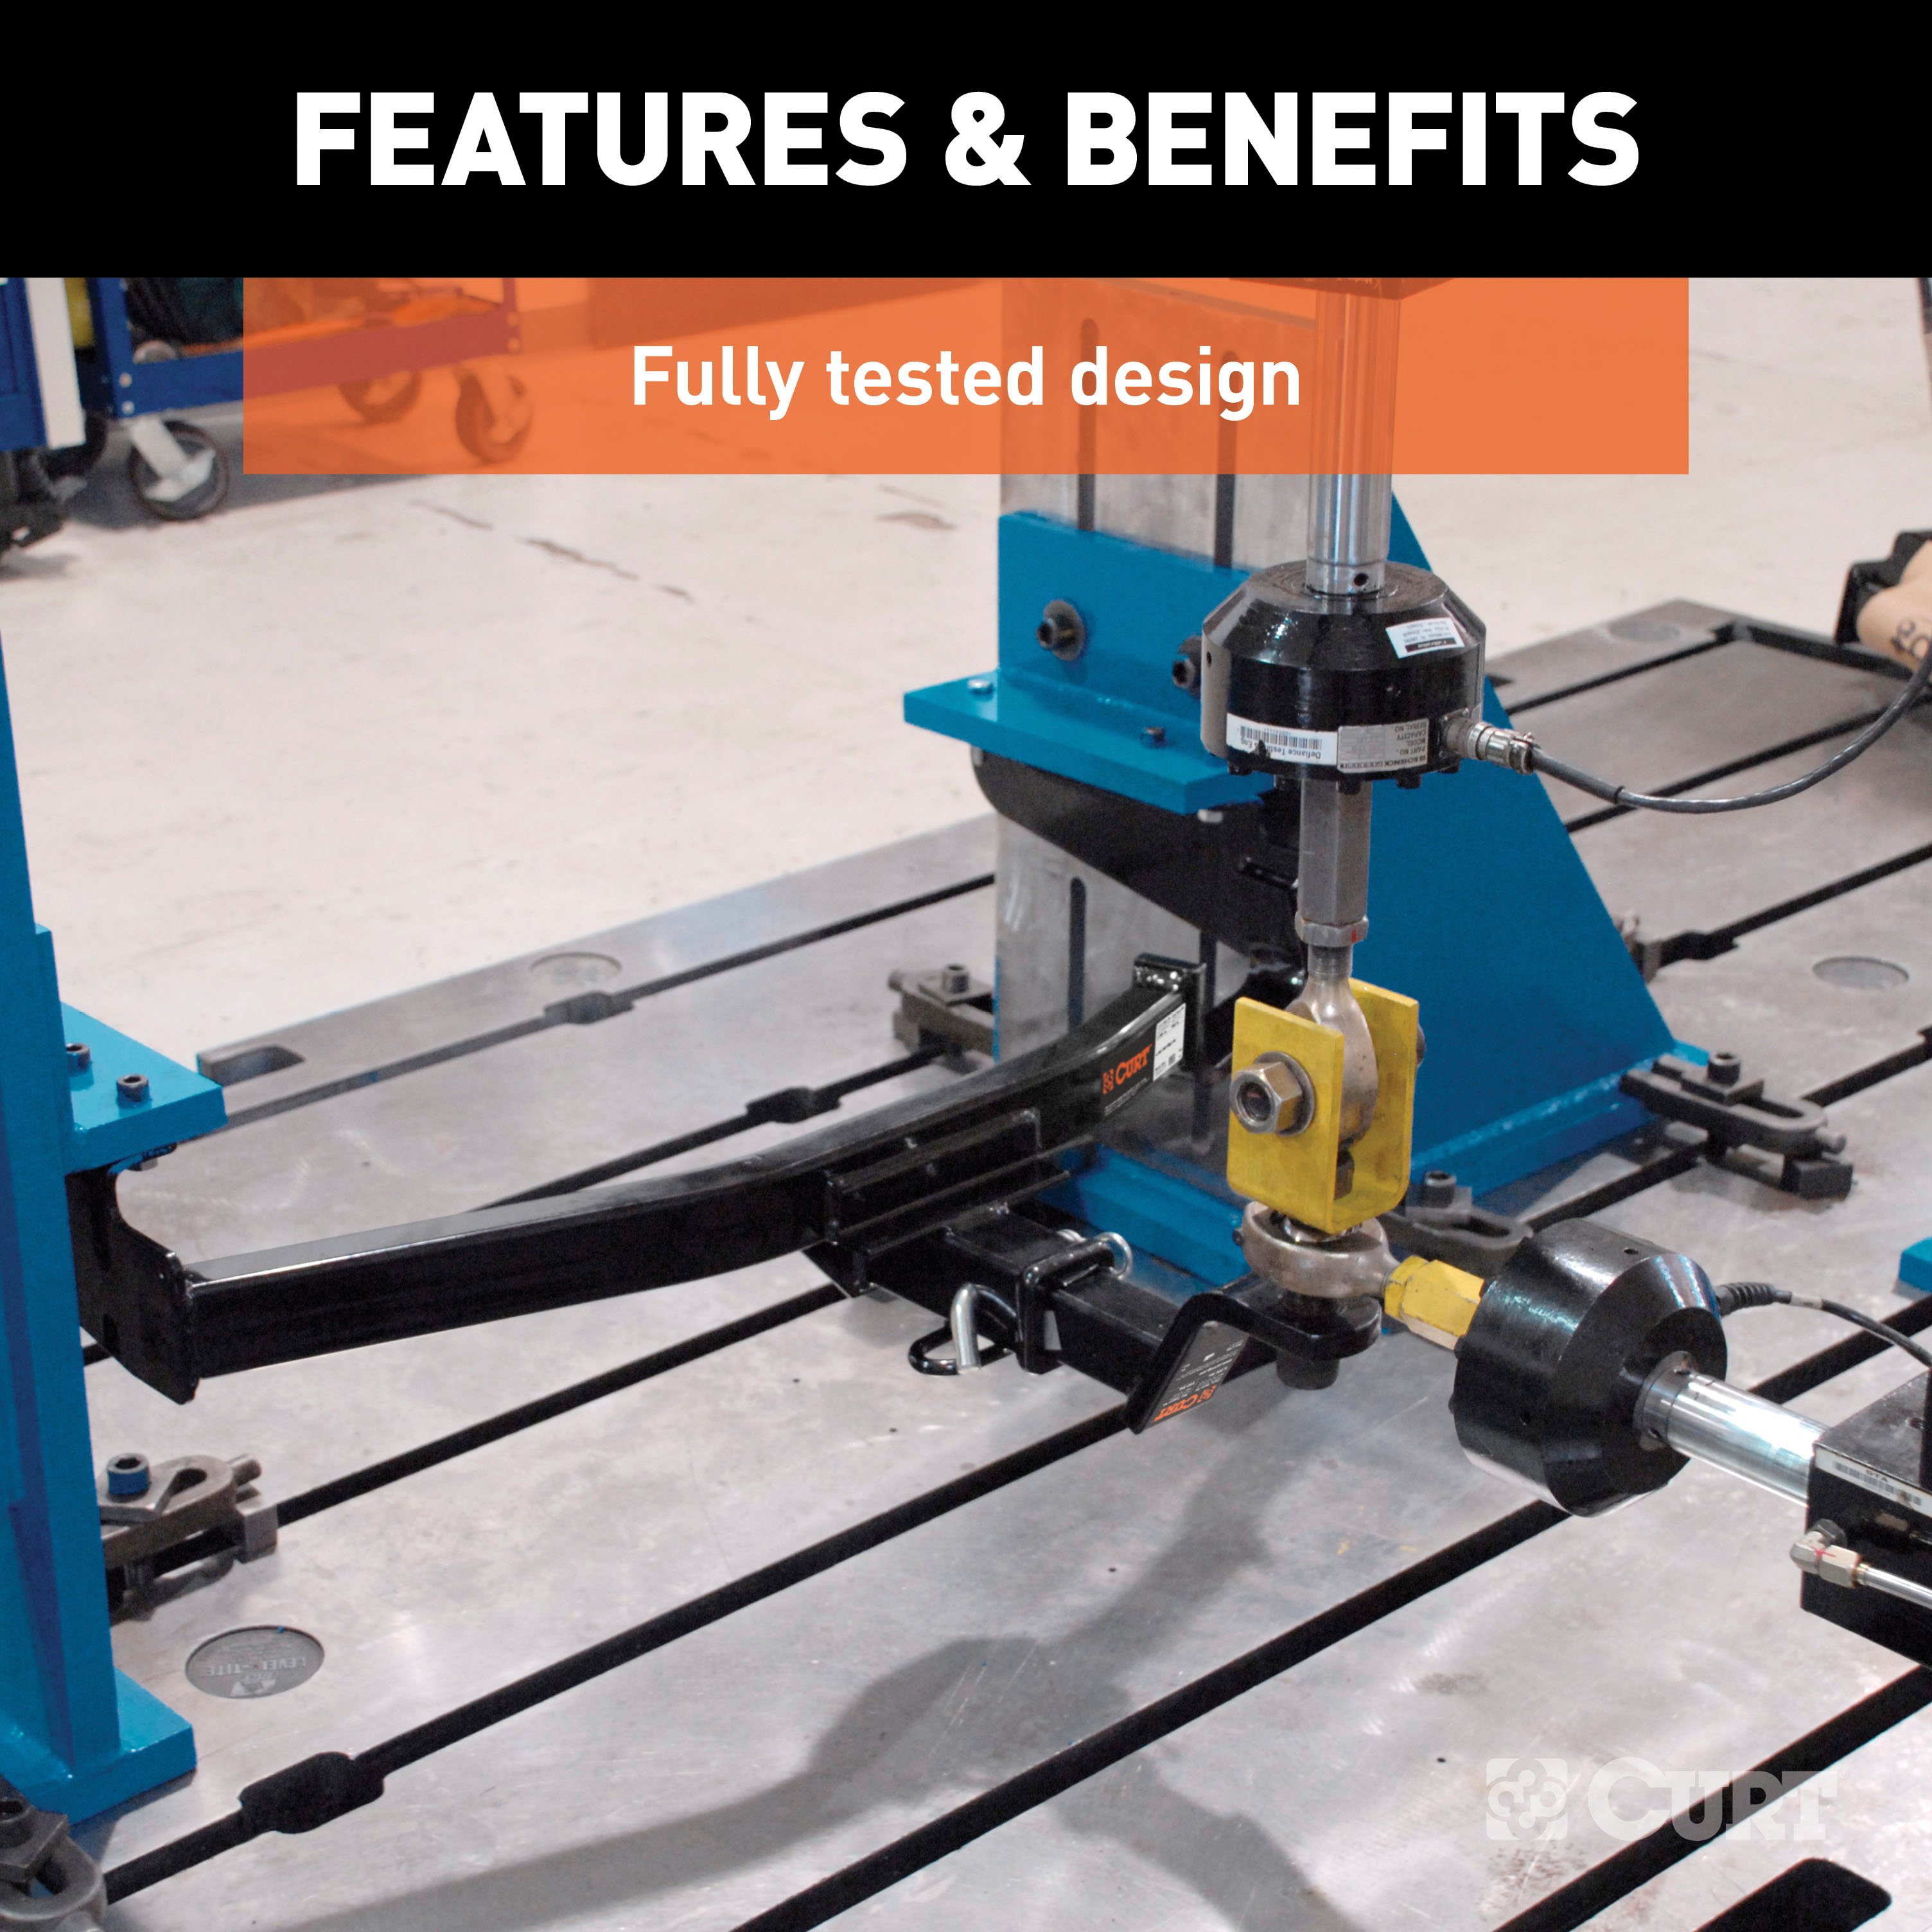
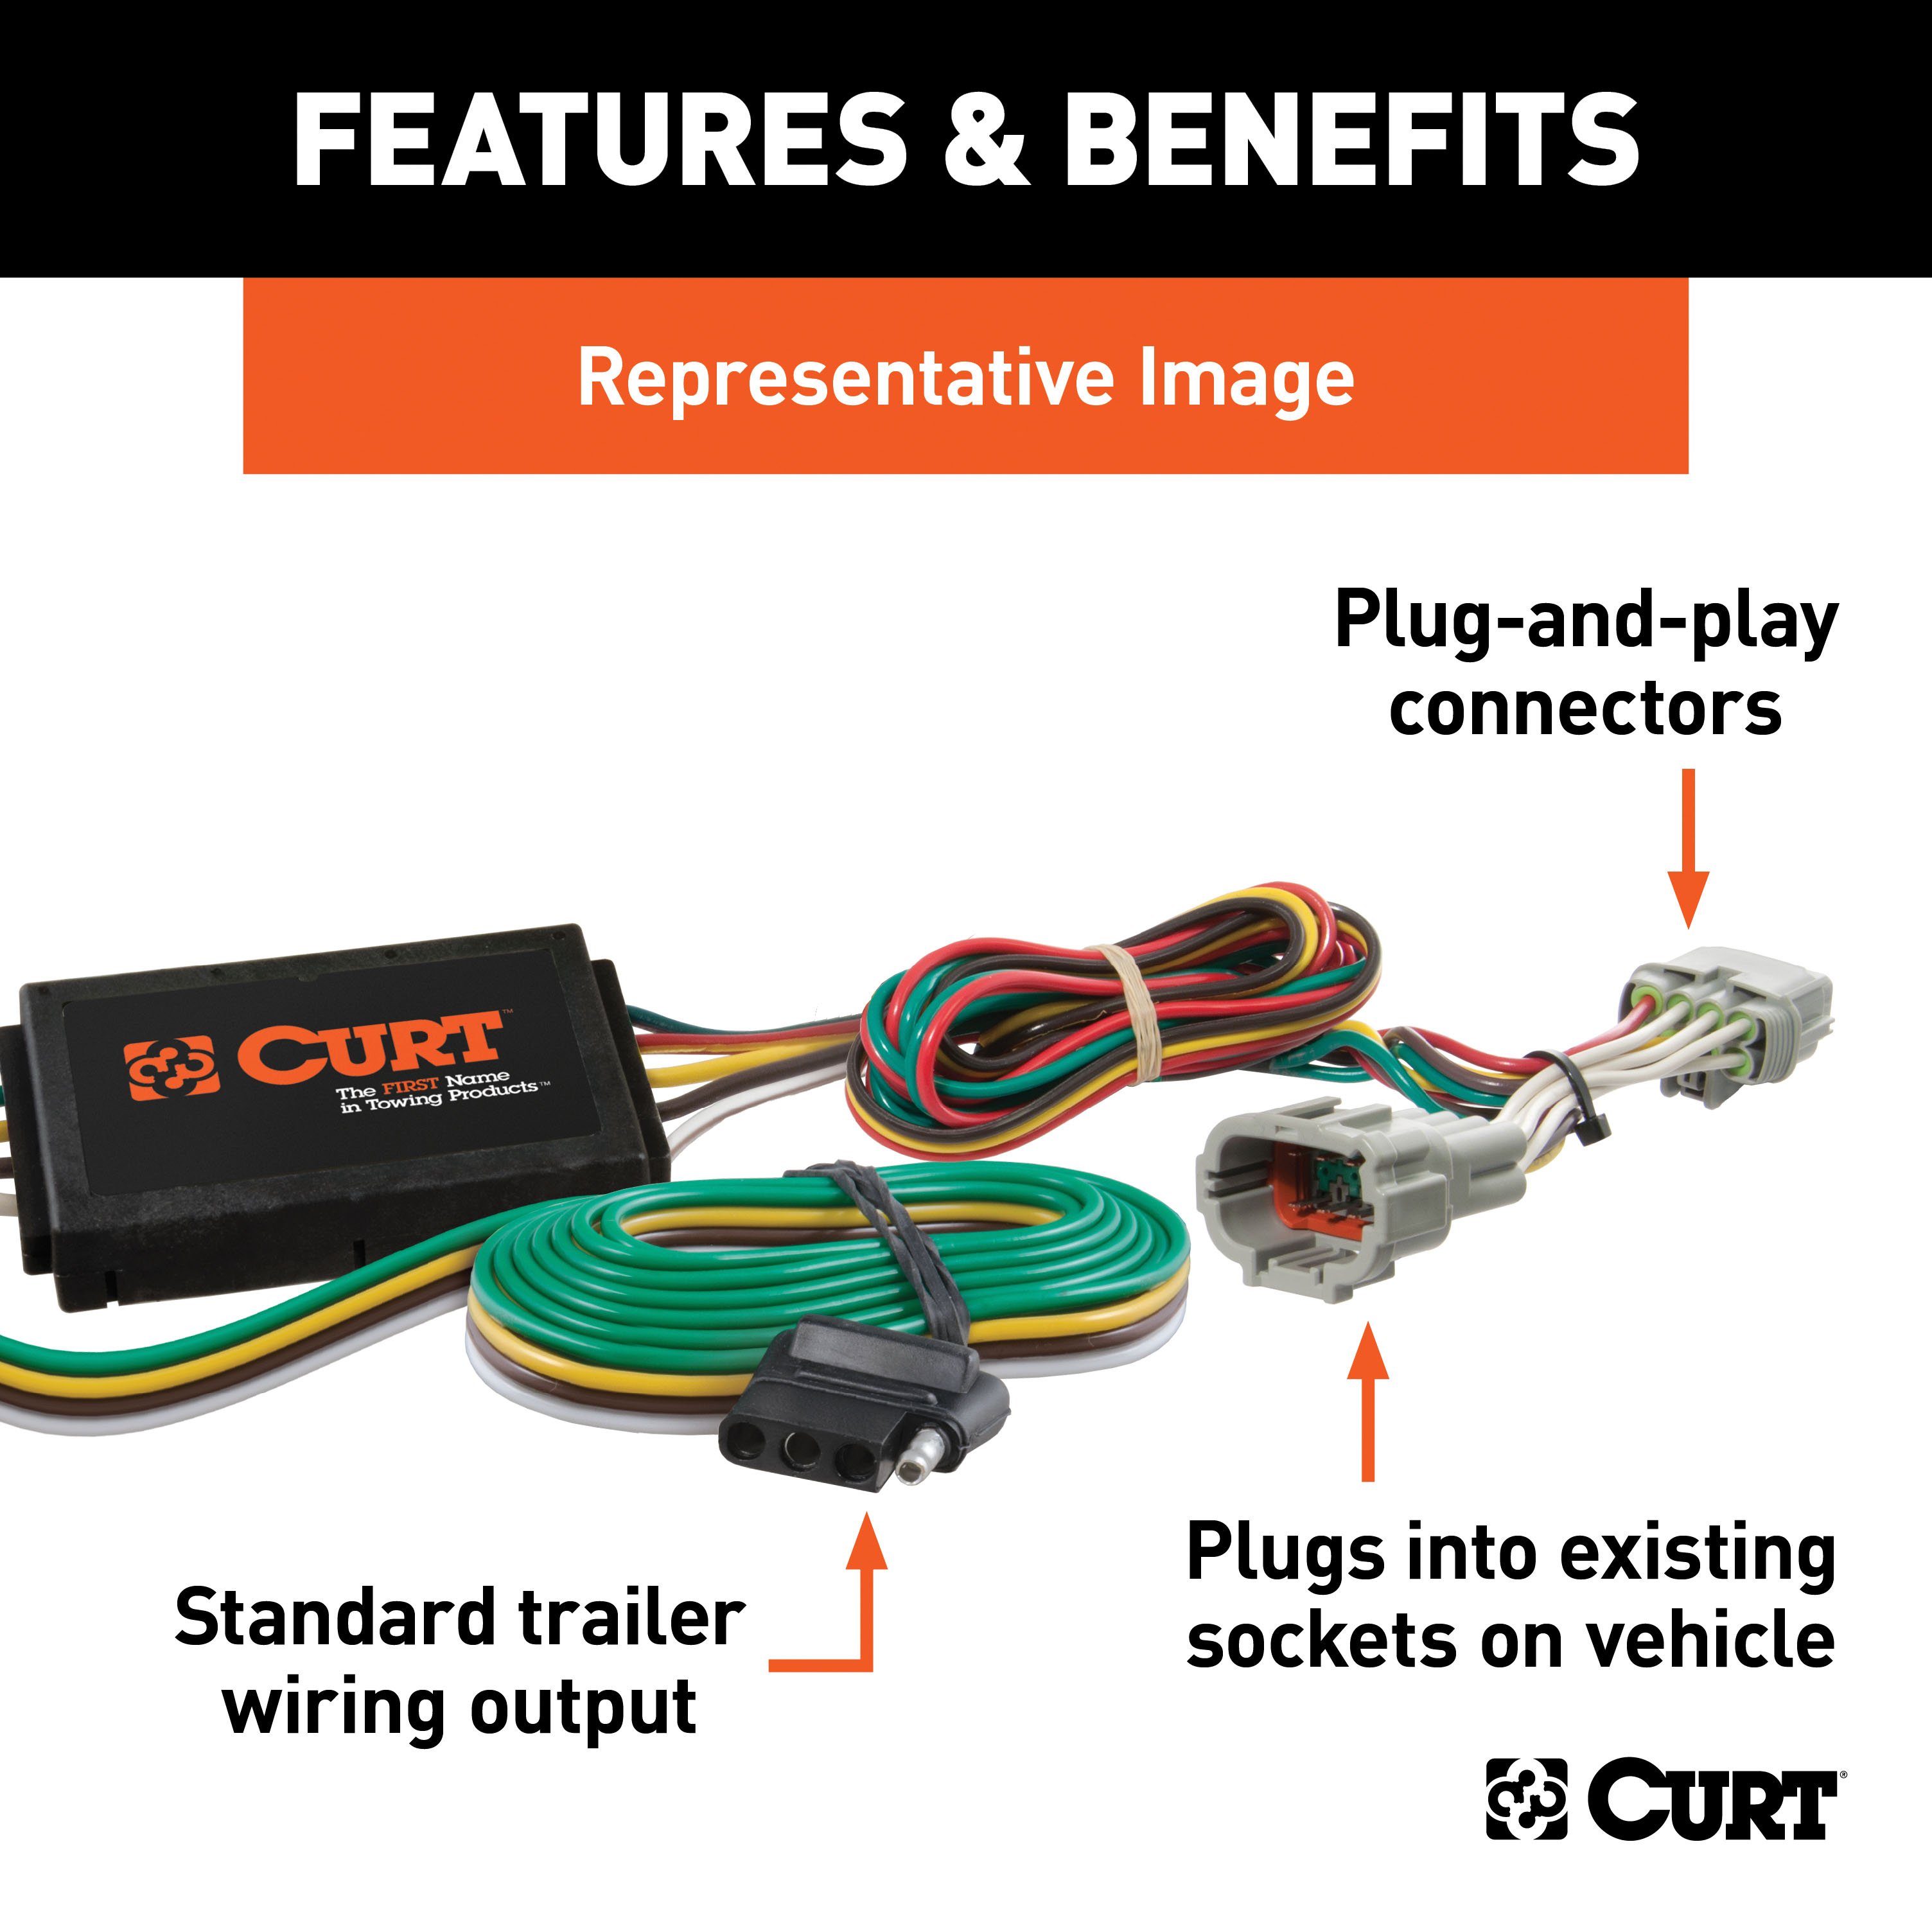
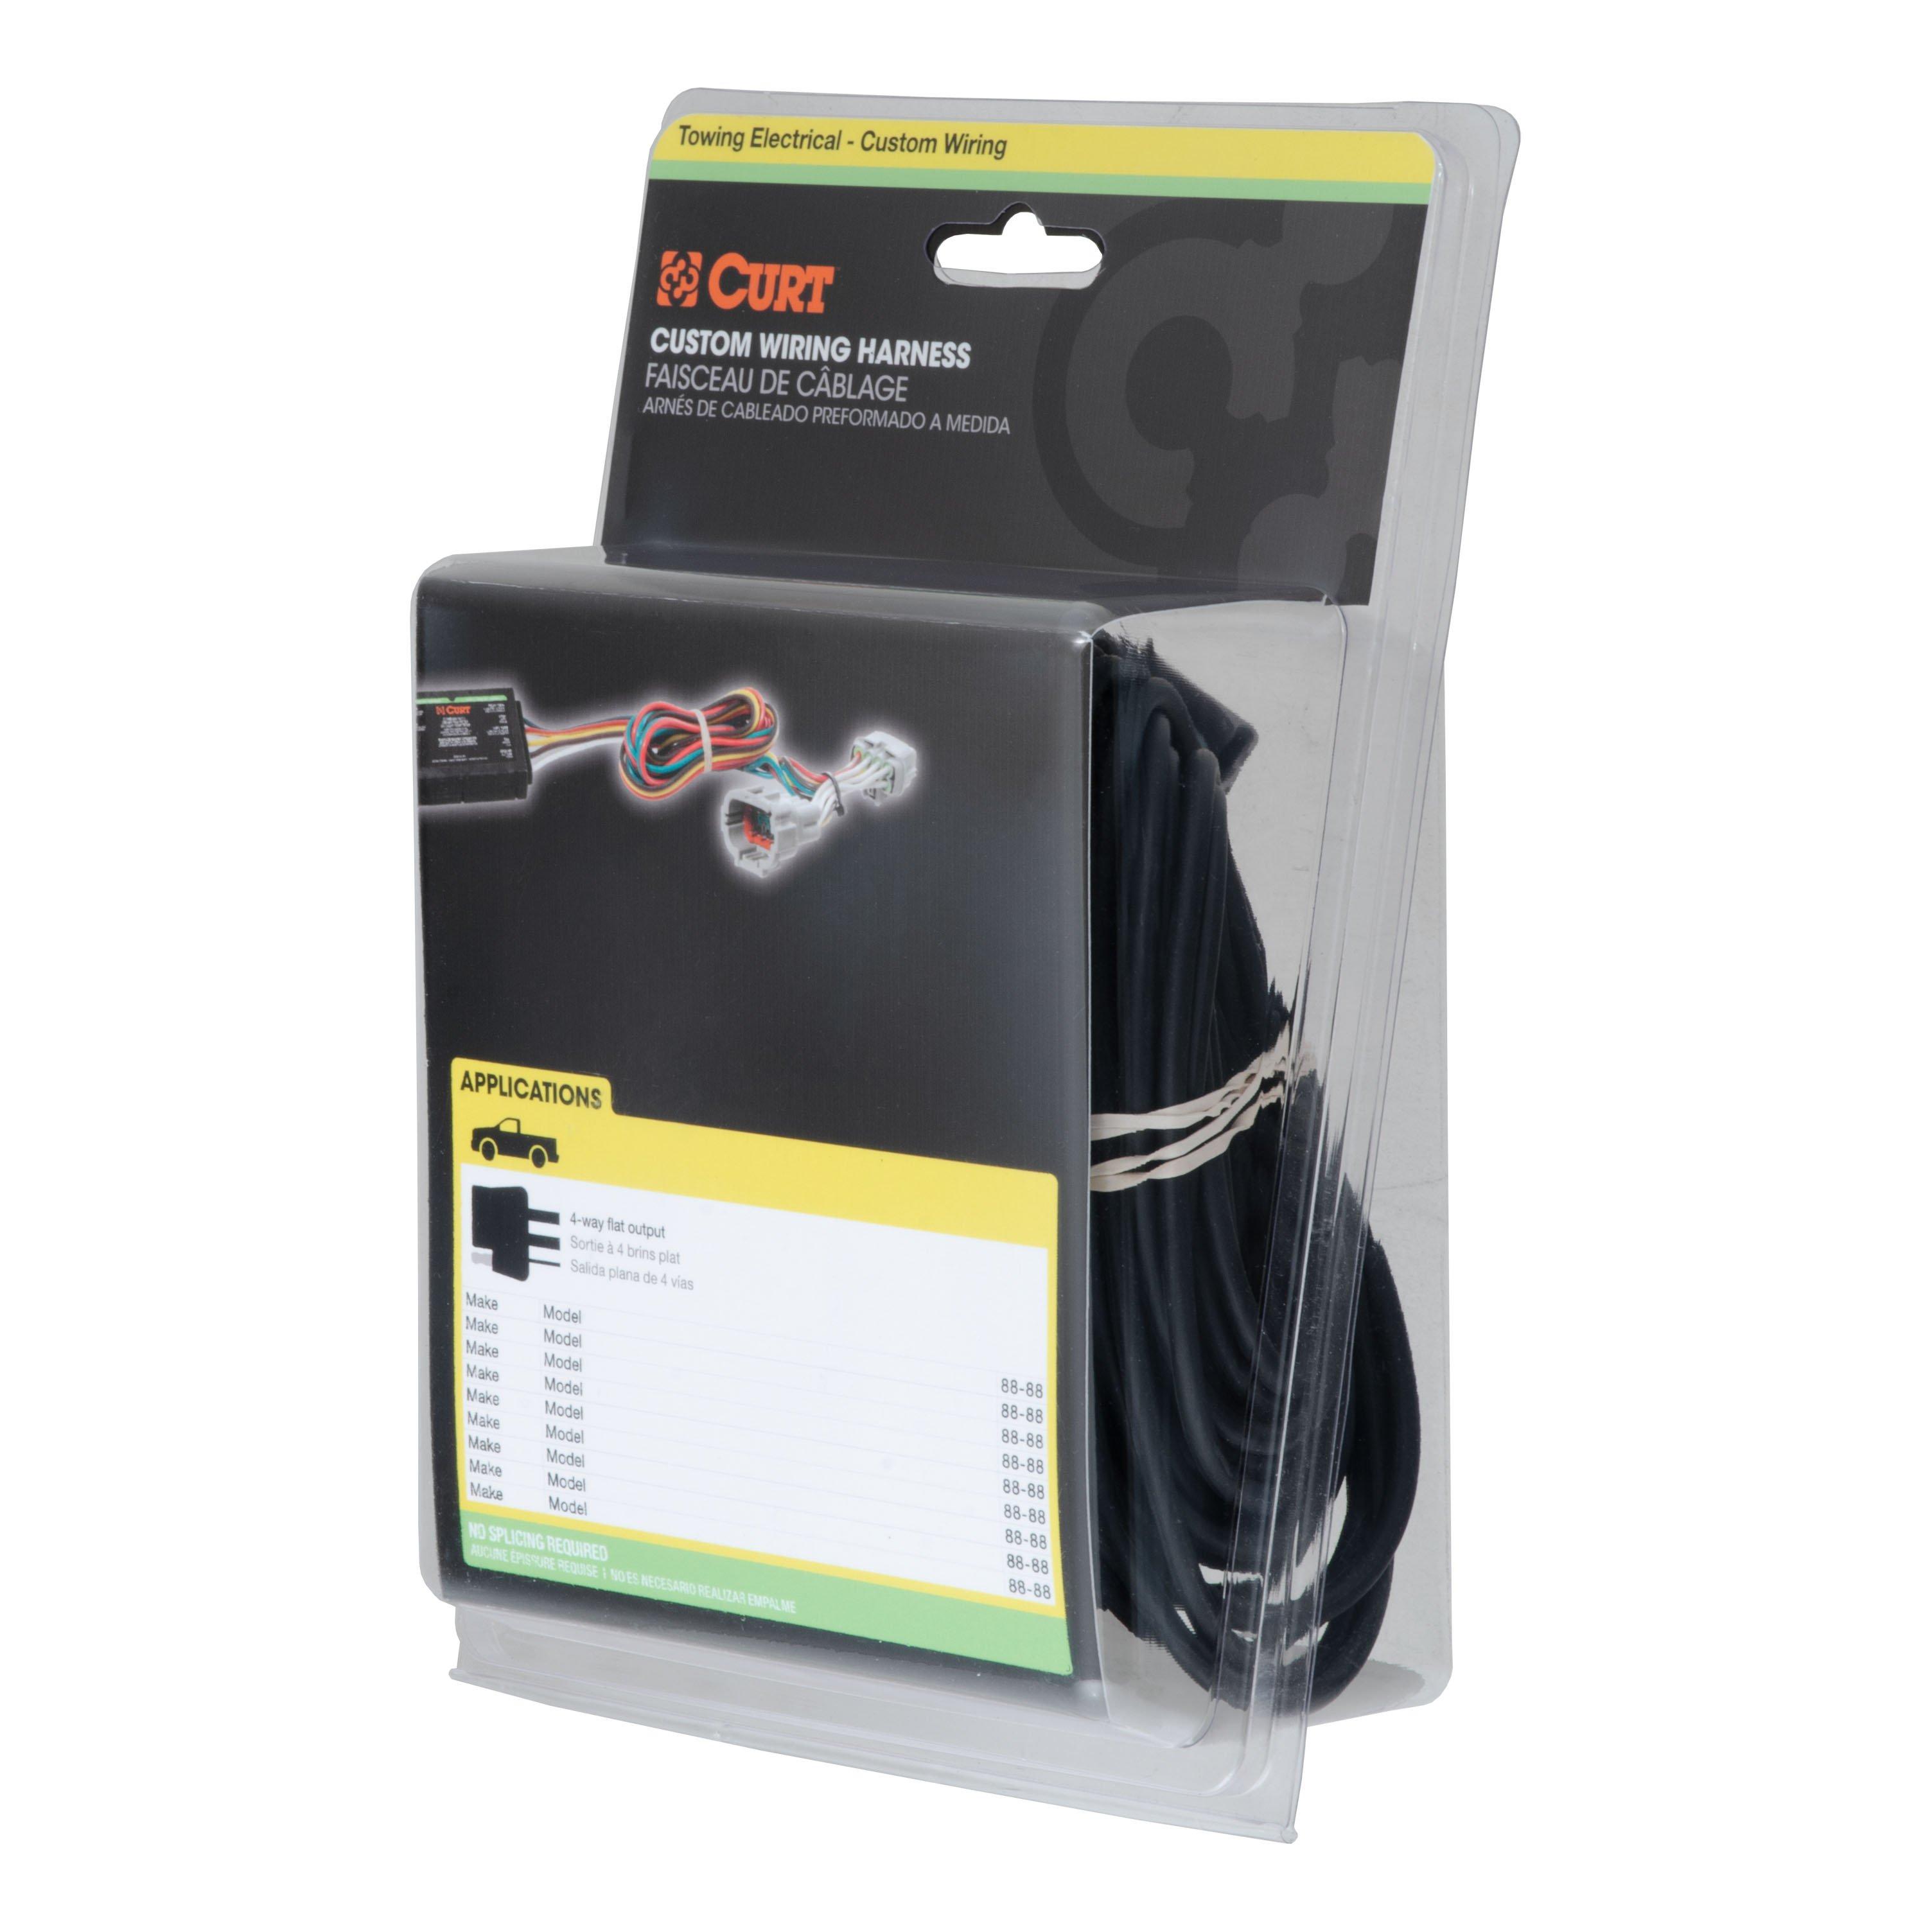
- Includes: Class 1 Trailer Tow Hitch, Custom Wiring Harness
Compatibility Chart
| Year Range | Make | Model | Style |
|---|
Description
Get Expert Help
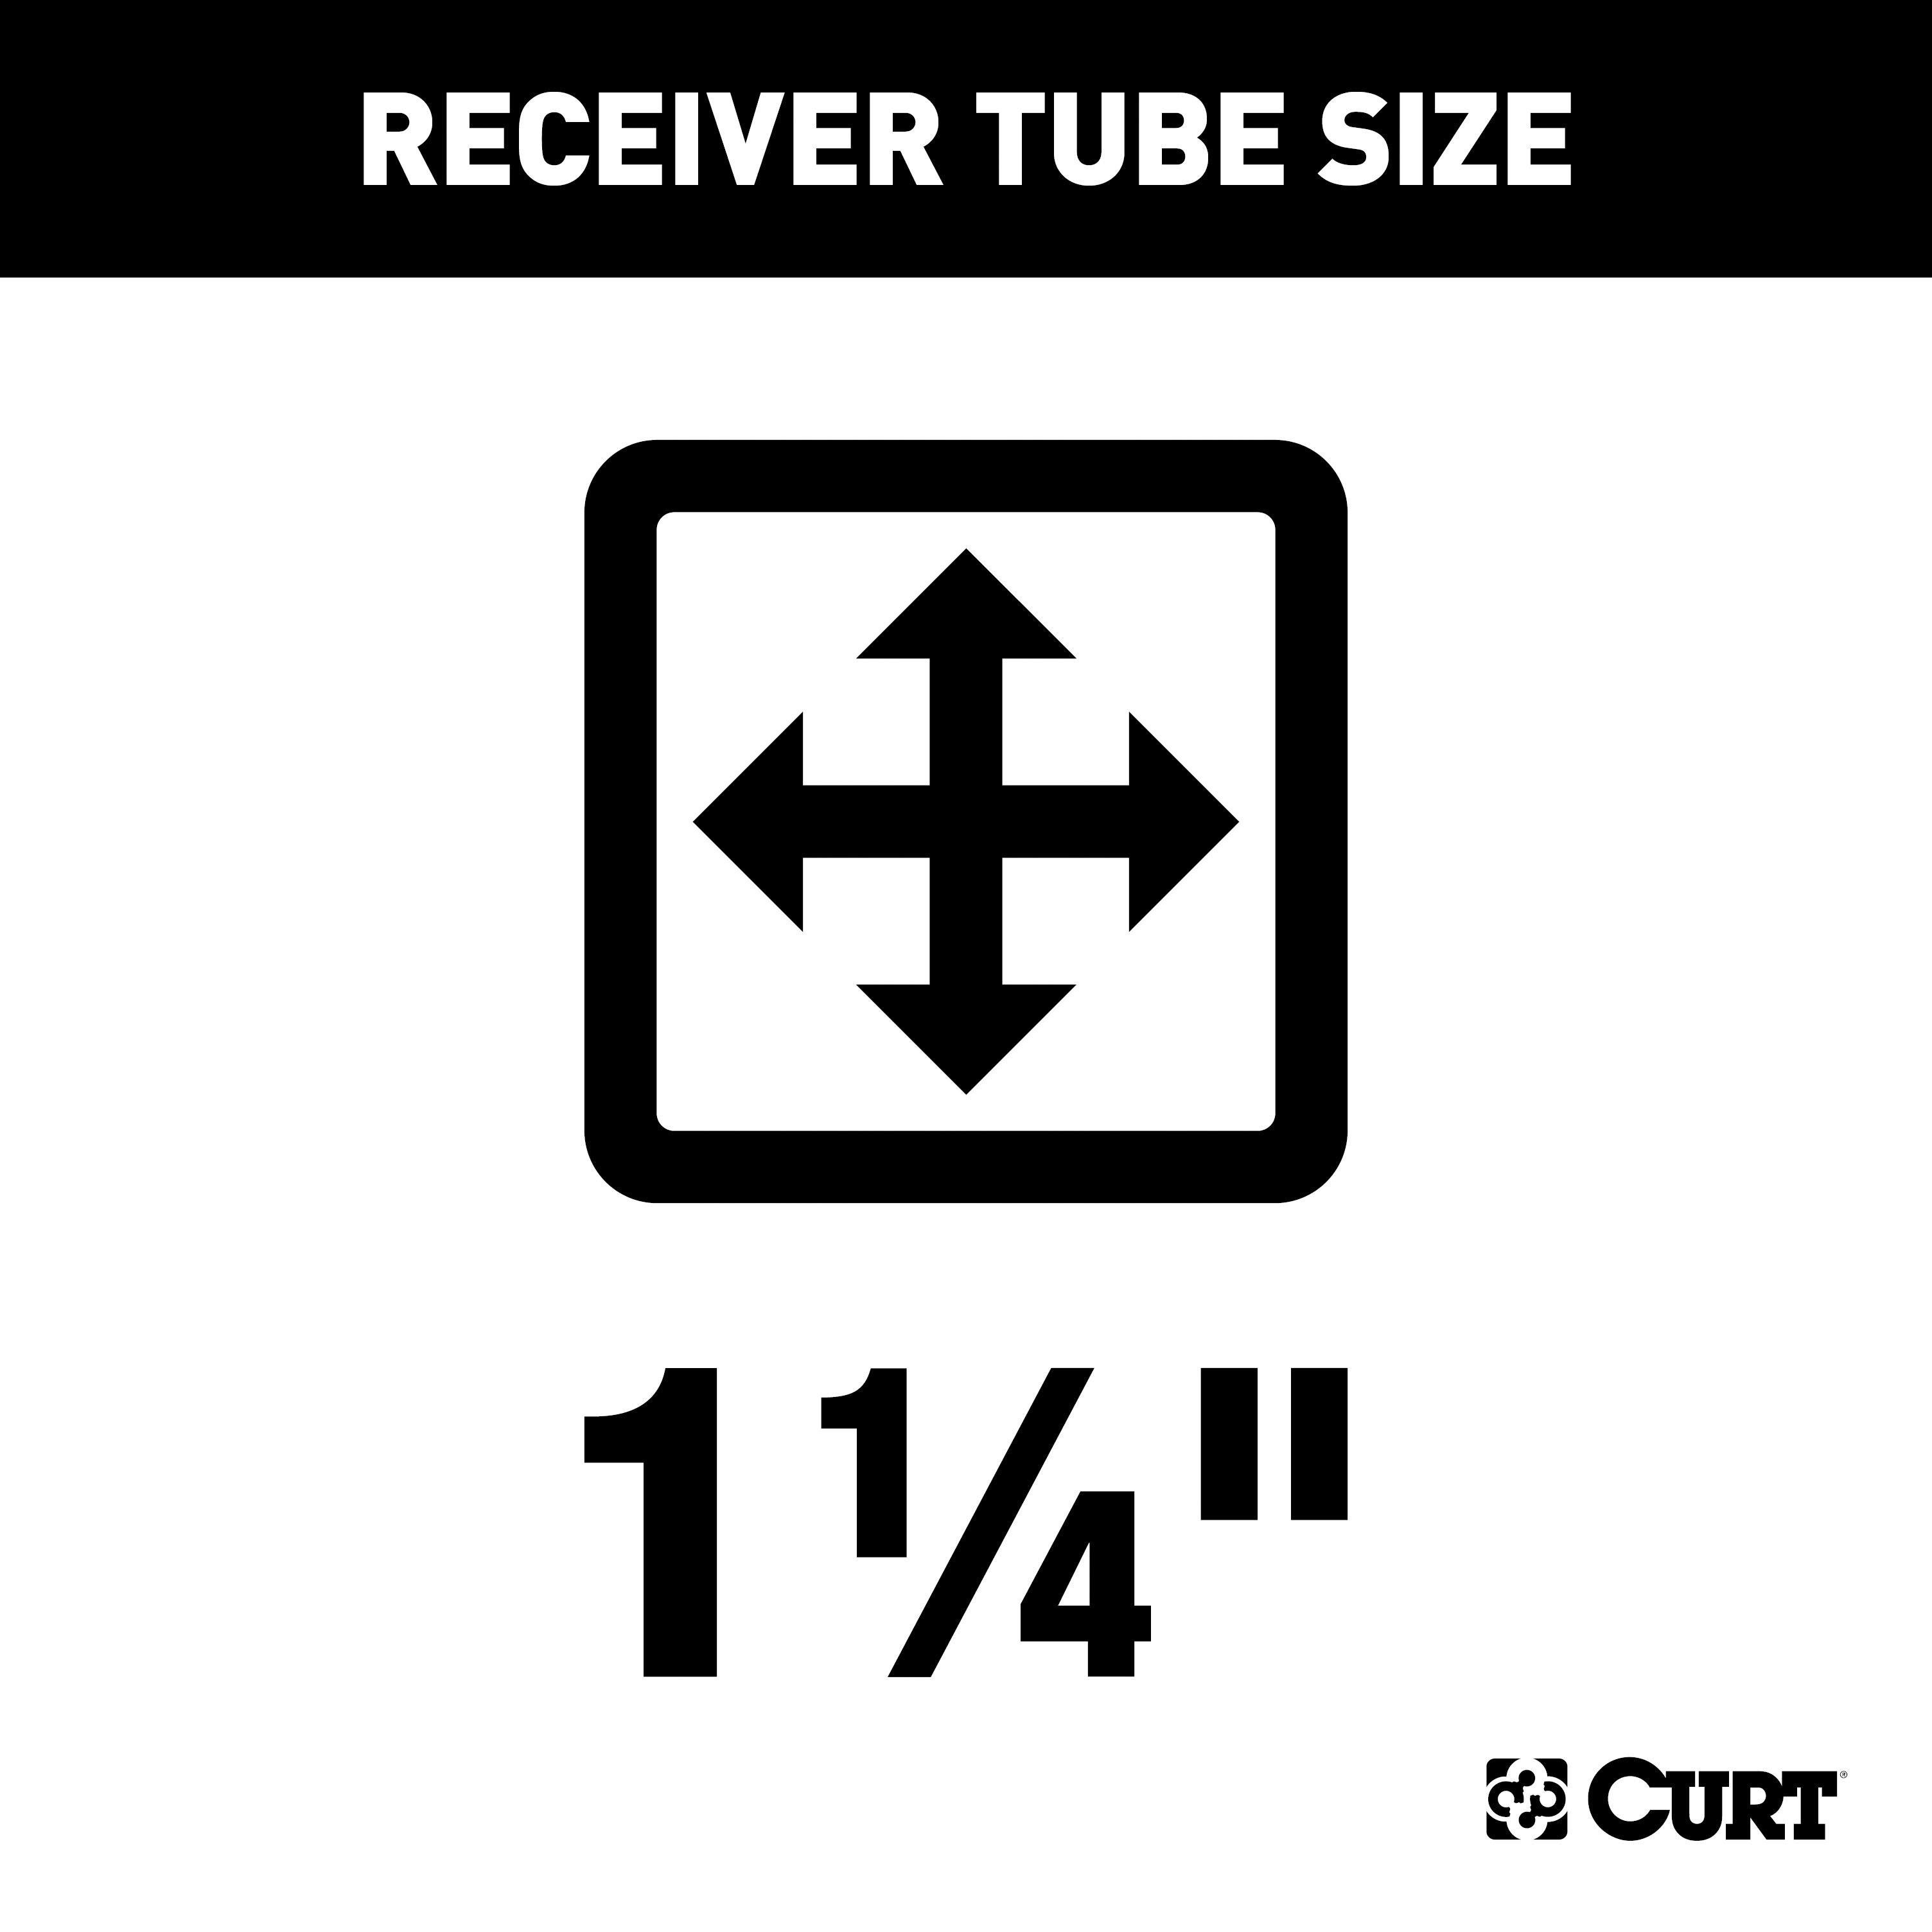
For 2012-2016 Subaru Impreza Trailer Hitch + Wiring 4 Pin Fits 4-Door Sedan Except WRX Curt 11408 56259 1-1/4 Tow Receiver Install Notes
Installation Instructions for 2015-Present Subaru WRX/WRX STI, 2015-Present Subaru Impreza Sedan, and 2012-2014 Subaru Impreza Sedan (Excludes WRX)
Part Numbers:
- 11408
Tools Required:
- Ratchet
- Torque Wrench
- Die Grinder
- 10mm and 3/4" Sockets
- Aviation Shears
- Safety Glasses
Step-by-Step Instructions:
Step 1: Lower the exhaust
- Remove (5) rear rubber isolators to lower the exhaust. Refer to the "Rubber Isolator Removal Diagram" for assistance.
- If needed, remove plastic underbody panels to access outside hangers by detaching (7) plastic fittings per side.
- Support the exhaust during this process to prevent damage.
Step 2: Remove and modify the heat shield
- Remove the heat shield by unscrewing (4) small screws with a 10mm socket.
- Cut a hole in the heat shield as shown in the provided diagram to accommodate the hitch.
Step 3: Prepare the frame rails
- Remove (6) rubber plugs from the frame (1 large and 2 small plugs from each side).
- Enlarge the access hole on both frame rails to allow 1/2" fasteners to pass through.
Step 4: Reinstall the heat shield
- Reattach the heat shield using (3) of the original fasteners, leaving out the one between the mounting holes.
Step 5: Fishwire bolts and spacers
- Fishwire 1/2" carriage bolts and square-hole spacers through the access holes into position on both sides.
Step 6: Position and secure the hitch
- Raise the hitch into position, ensuring the heat shield is sandwiched between the hitch and vehicle frame rails.
- Secure the hitch using the provided 1/2"-13 serrated flange nuts.
Step 7: Torque all hardware
- Torque all 1/2" fasteners to 110 ft-lbs.
Step 8: Reinstall the exhaust and underbody panels
- Raise the exhaust back into place and reattach the rubber isolators.
- Reinstall the plastic underbody panels if removed.
Hardware List:
- (4) 1/2"-13 UNC x 1-1/2" Carriage Bolts
- (4) .250 x 1.00 x 3.00" Square Hole Spacers
- (4) 1/2"-13 Serrated Flange Nuts
- (4) 1/2" Fishwires
Safety Notes:
- Always wear safety glasses during installation.
- Stabilizing straps (#18050) are required for all non-trailer (wheel-less) loads.
- Periodically inspect the hitch to ensure all fasteners are tight and structural components are secure.
- Never exceed the vehicle manufacturer's recommended towing capacity.
Specifications:
- Gross Trailer Weight: 2,000 lbs
- Tongue Weight: 200 lbs
For additional support, contact Technical Support at 877-287-8634.
Installation Instructions for Subaru Impreza Sedan (2.0i All Trims) and Subaru WRX
Part Numbers:
- 56259
Wiring Access Location:
- P3: Behind driver-side taillight housing, inside of trunk.
- P4: Behind passenger-side taillight housing, inside of trunk.
Tools Required:
- Flat blade screwdriver
- Panel trim removal tool
- Wire stripper
- Wire crimper
- Ratchet
- 10mm socket
- Cutting tool
Step-by-Step Instructions:
-
Disconnect the Battery
- Locate the vehicle battery on the driver side under the hood.
- Disconnect the negative battery terminal.
-
Prepare the Trunk Area
- Open the vehicle trunk.
- Remove all trunk floor coverings.
-
Remove the Rear Scuff Panel
- Remove the fasteners securing the rear scuff panel.
- Pull the scuff panel out from the bottom and then upward, taking care not to damage the alignment tabs on the backside.
-
Remove the Felt Trunk Liner (Driver Side)
- Remove the push fasteners securing the felt trunk liner on the driver side.
-
Access the Wiring Connectors
- Pull back on the felt trunk liner to locate the vehicle's taillight wiring harness connectors.
- Separate the connectors from the taillight housing, taking care not to damage the locking tabs.
-
Connect the Custom Wiring Harness (Driver Side)
- Insert the custom wiring harness end with the yellow wire between the separated connectors.
- Ensure the connectors are fully inserted with the locking tabs in place.
Warning: Check for miscellaneous items hidden behind or under any surface before drilling to avoid damage or personal injury.
-
Ground the White Wire
- Locate a suitable grounding point near the connector, such as an existing screw with a nut in the vehicle frame, or drill a 3/32" pilot hole.
- Ensure the grounding area is free of rust, dirt, and paint. Secure the white ground wire using the ring terminal and provided screw.
-
Connect the Custom Wiring Harness (Passenger Side)
- Route the custom wiring harness end with the green wire to the passenger side behind the removed scuff panel.
- Repeat steps 4–6 on the passenger side using the green wire.
-
Mount the Converter Box
- Locate a flat spot inside the vehicle near the taillight.
- Adhere the black converter box using the provided double-sided tape.
-
Route the Black Power Wire
- Route the black power wire from the vehicle battery as shown on the included CME-PCL-INS sheet.
-
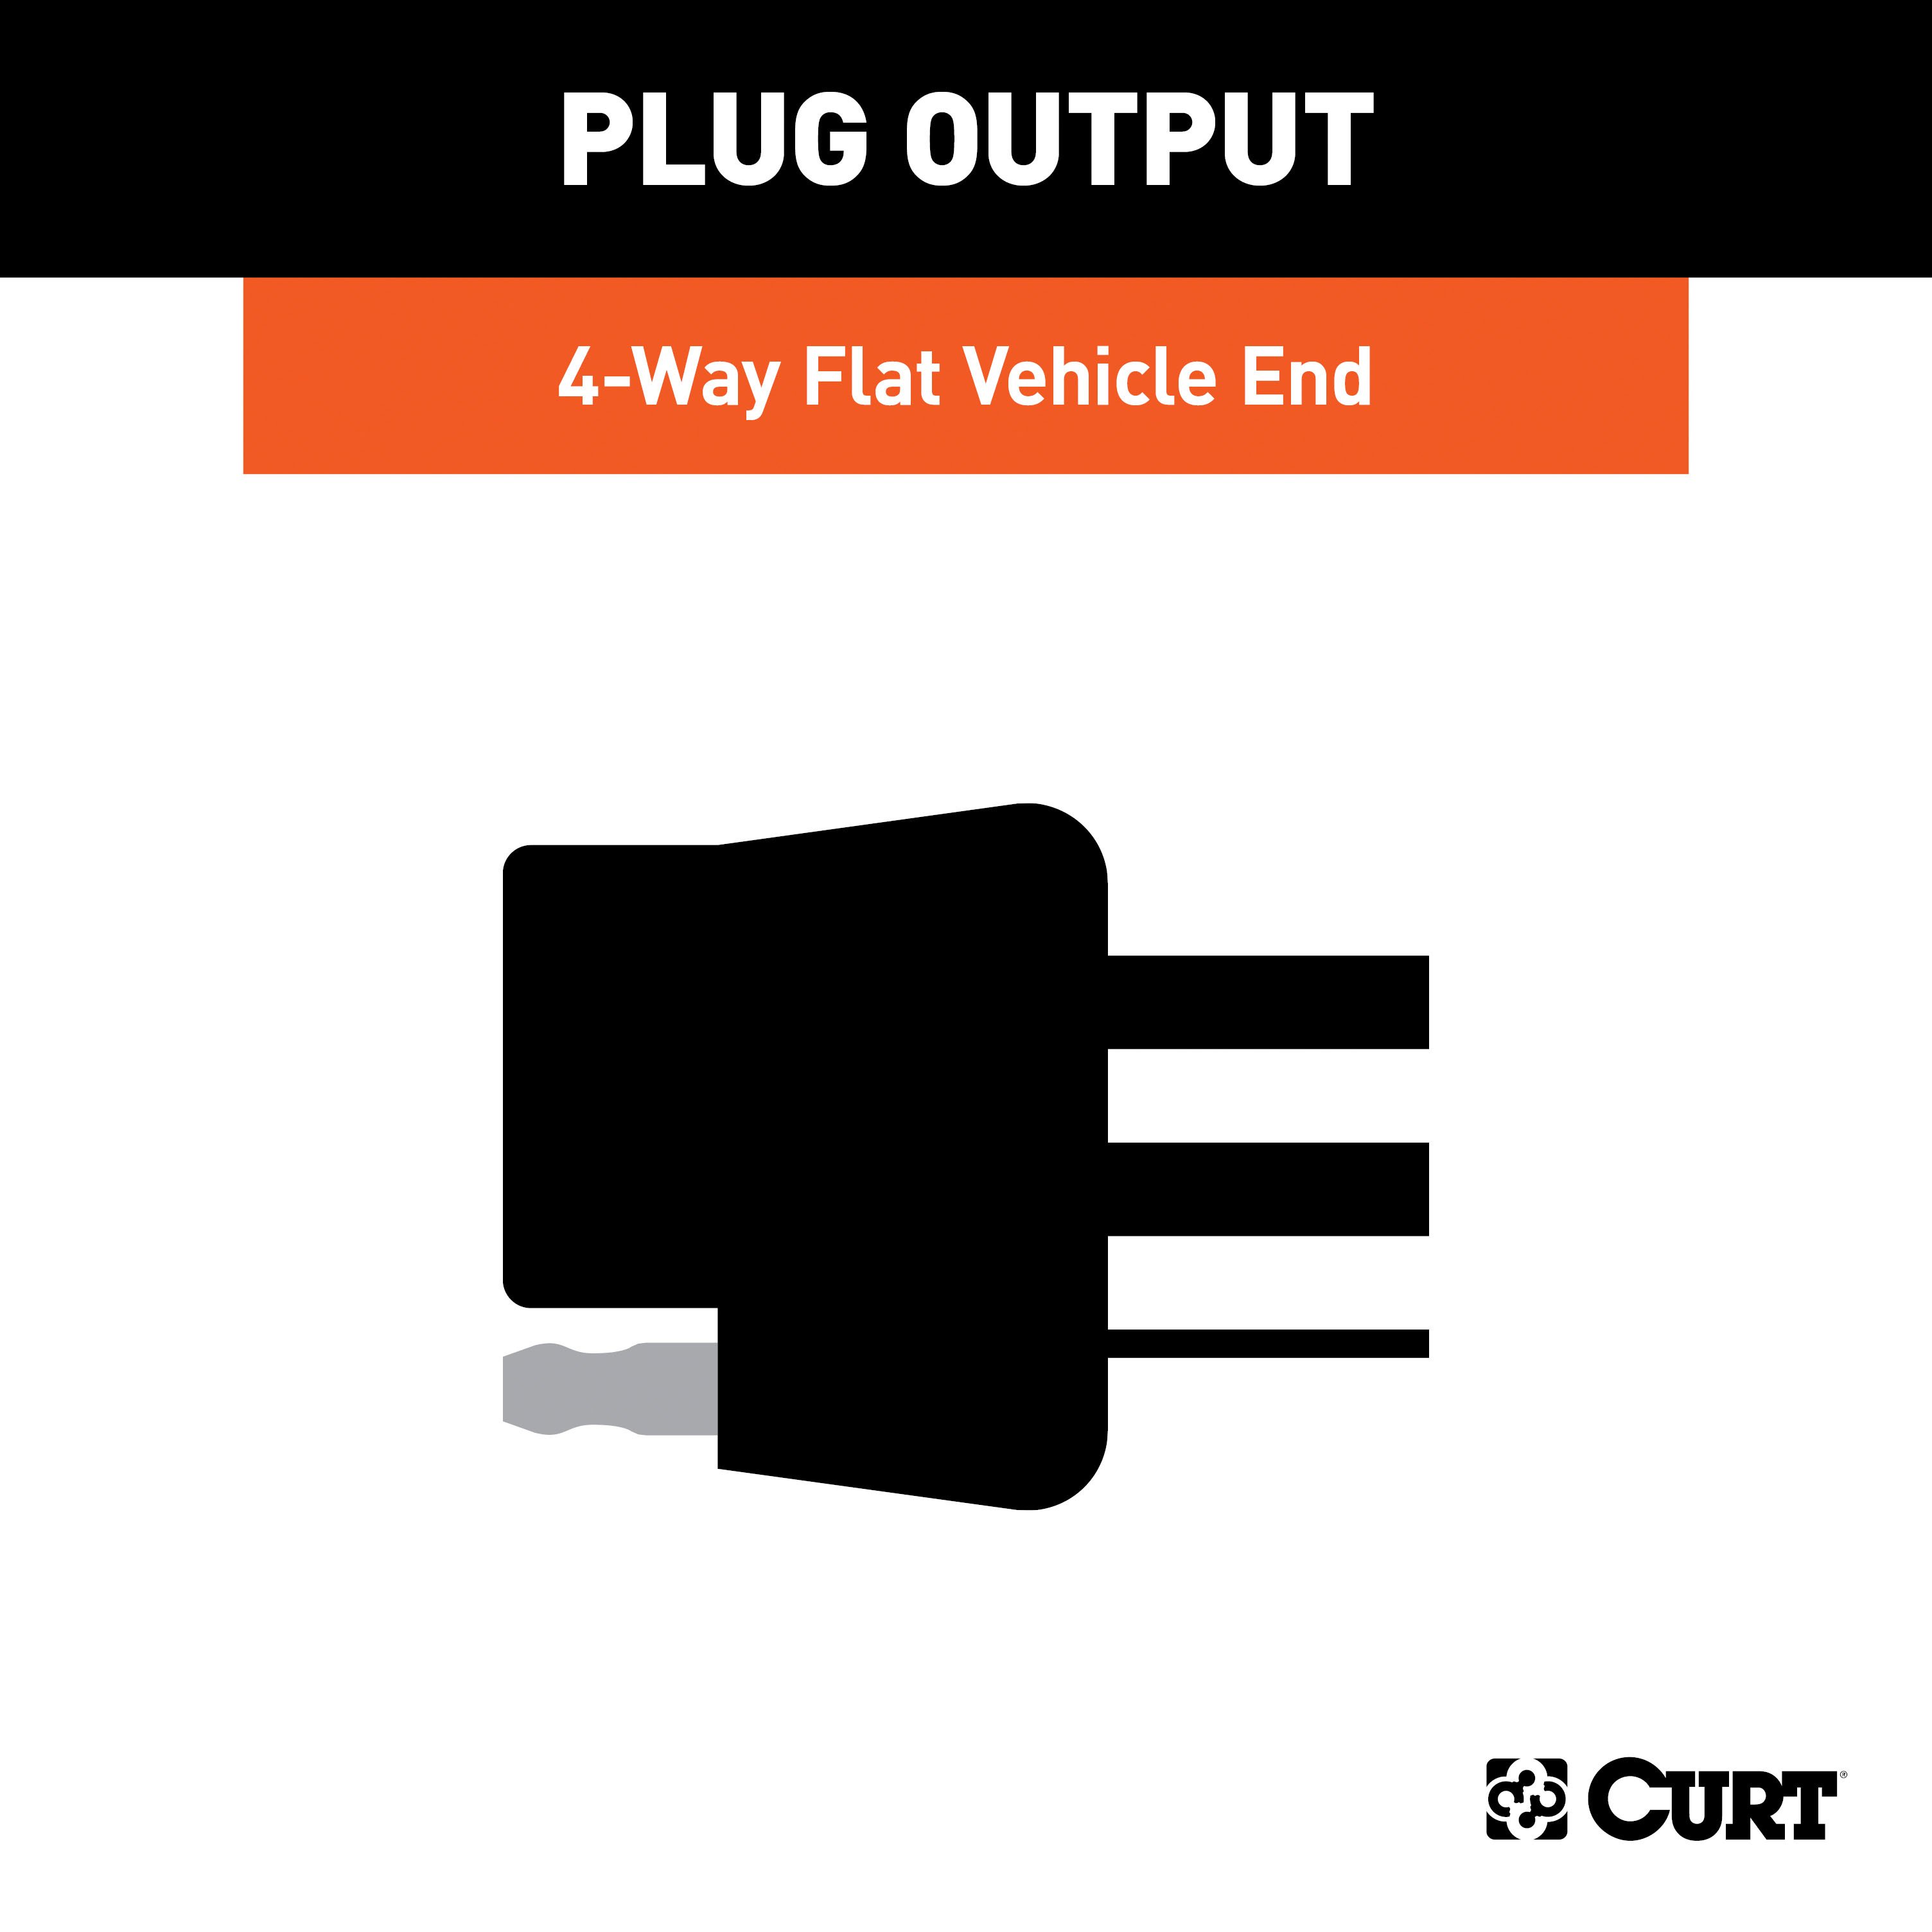
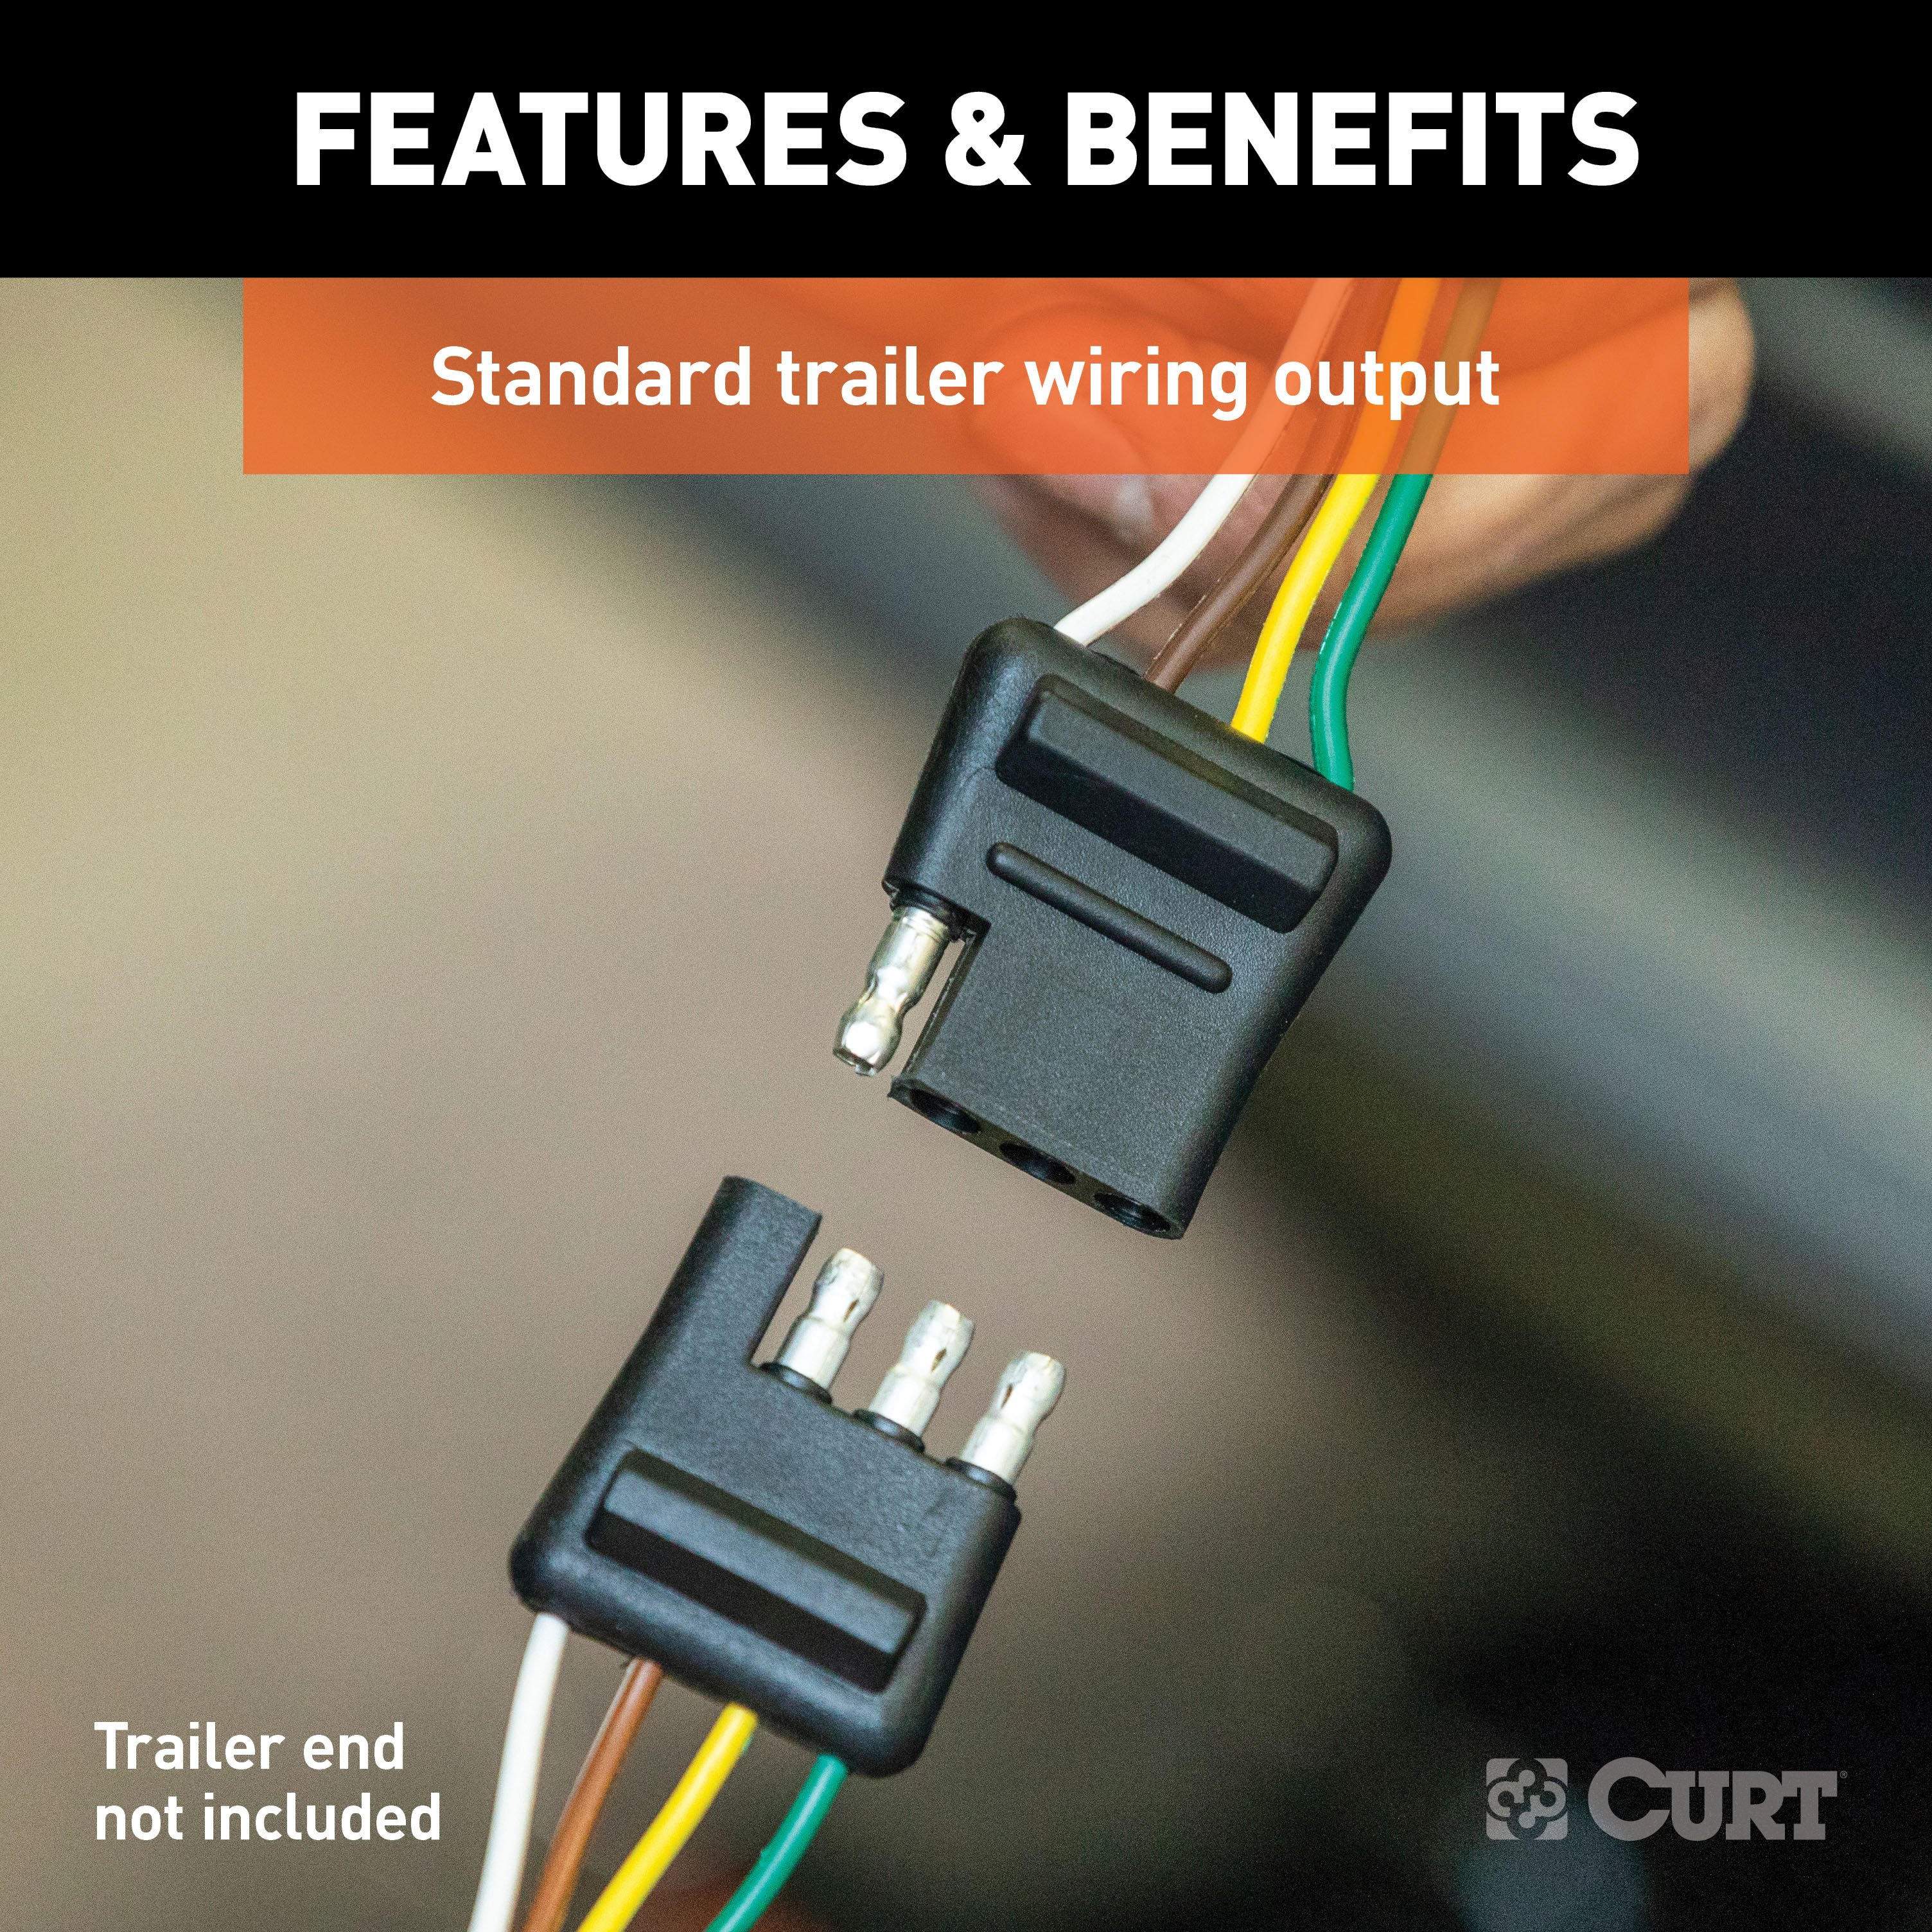
Secure the 4-Flat Connector
- When in use, route the 4-flat connector to the center of the vehicle and out of the trunk.
- When not in use, roll it up and store it in a convenient location inside the trunk.
- Secure any loose wires with the provided cable ties.
-
Reinstall Components
- Reinstall all items removed during the installation process.
- Reconnect the negative battery terminal.
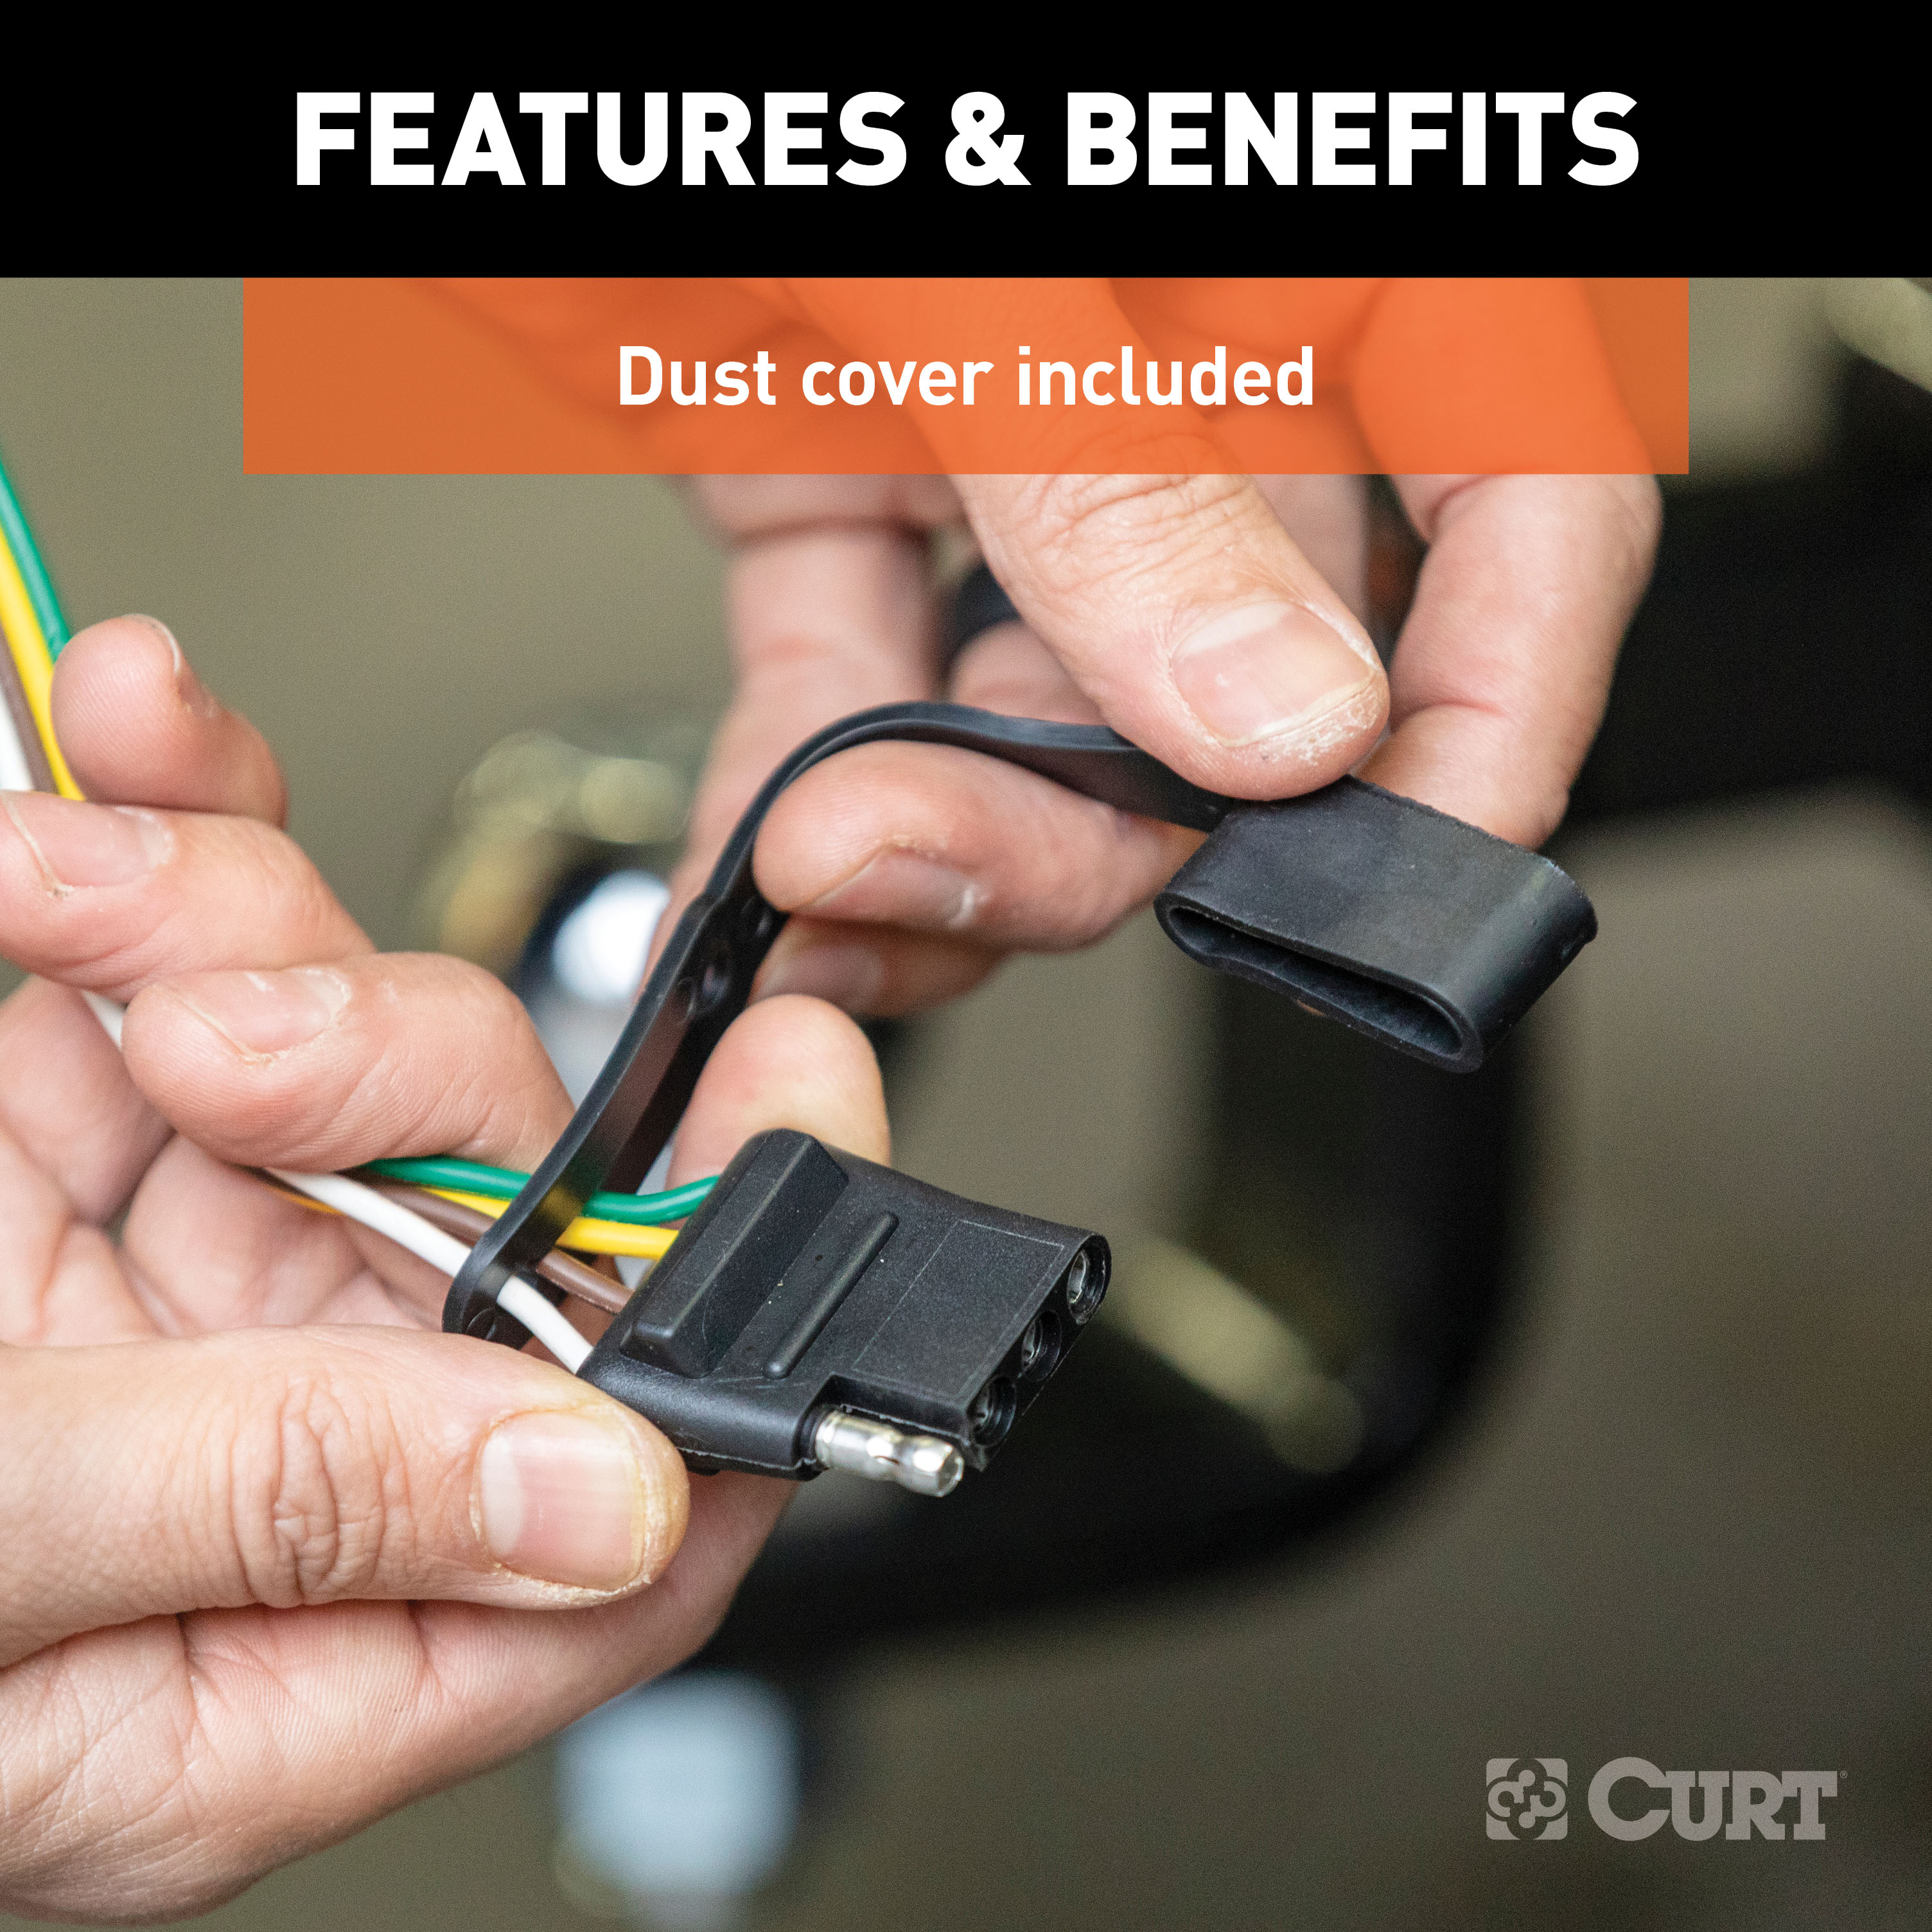
- Install the provided 4-flat dust cover to help prevent corrosion.
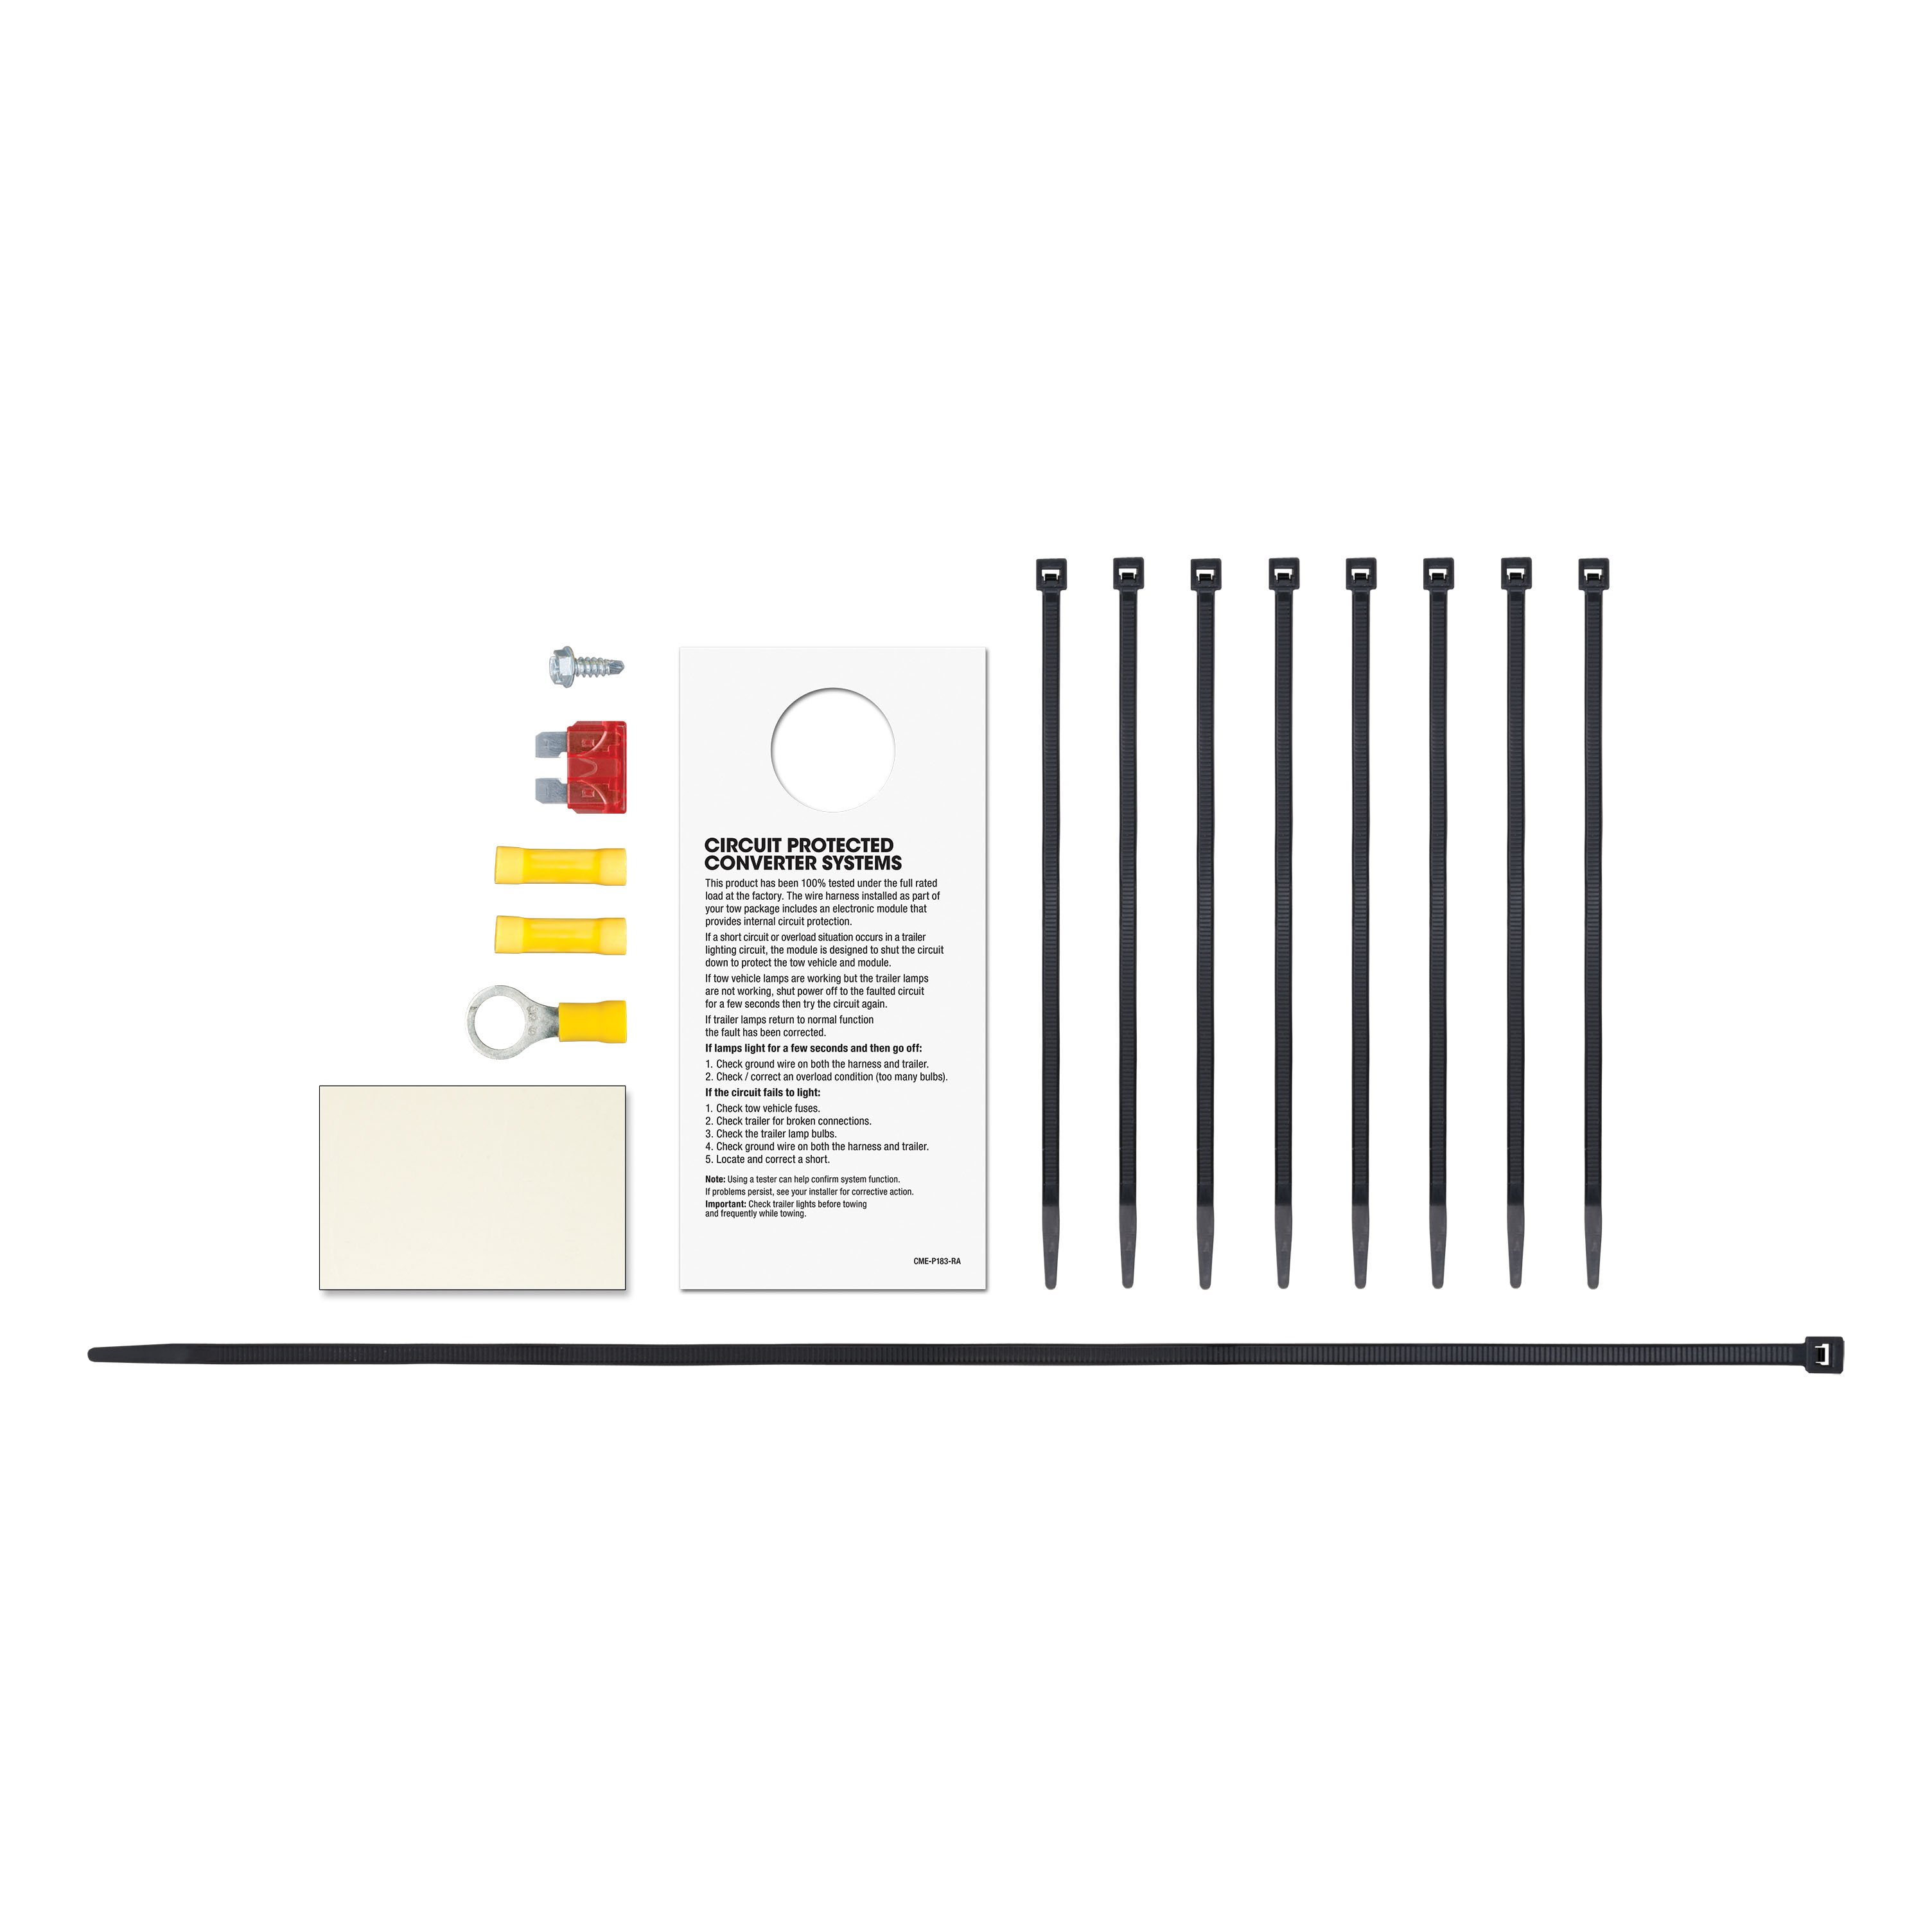
Hardware List:
- CURT wiring harness
- Ring terminal
- Ground screw
- Cable ties
- Double-sided tape
- 4-flat dust cover
Safety Notes:
- Do not exceed the product rating or the tow vehicle lamp load rating.
- Inspect all wiring periodically to ensure there are no damages or loose connections.
- The battery connection must be fuse-protected (10-amp max).
Specifications:
- Signal Circuits: 3.0 amps per side
- Tail/Running Circuits: 6.0 amps total


