Product Details
- Brand: Curt
- Model: 13515 56083-CH2711
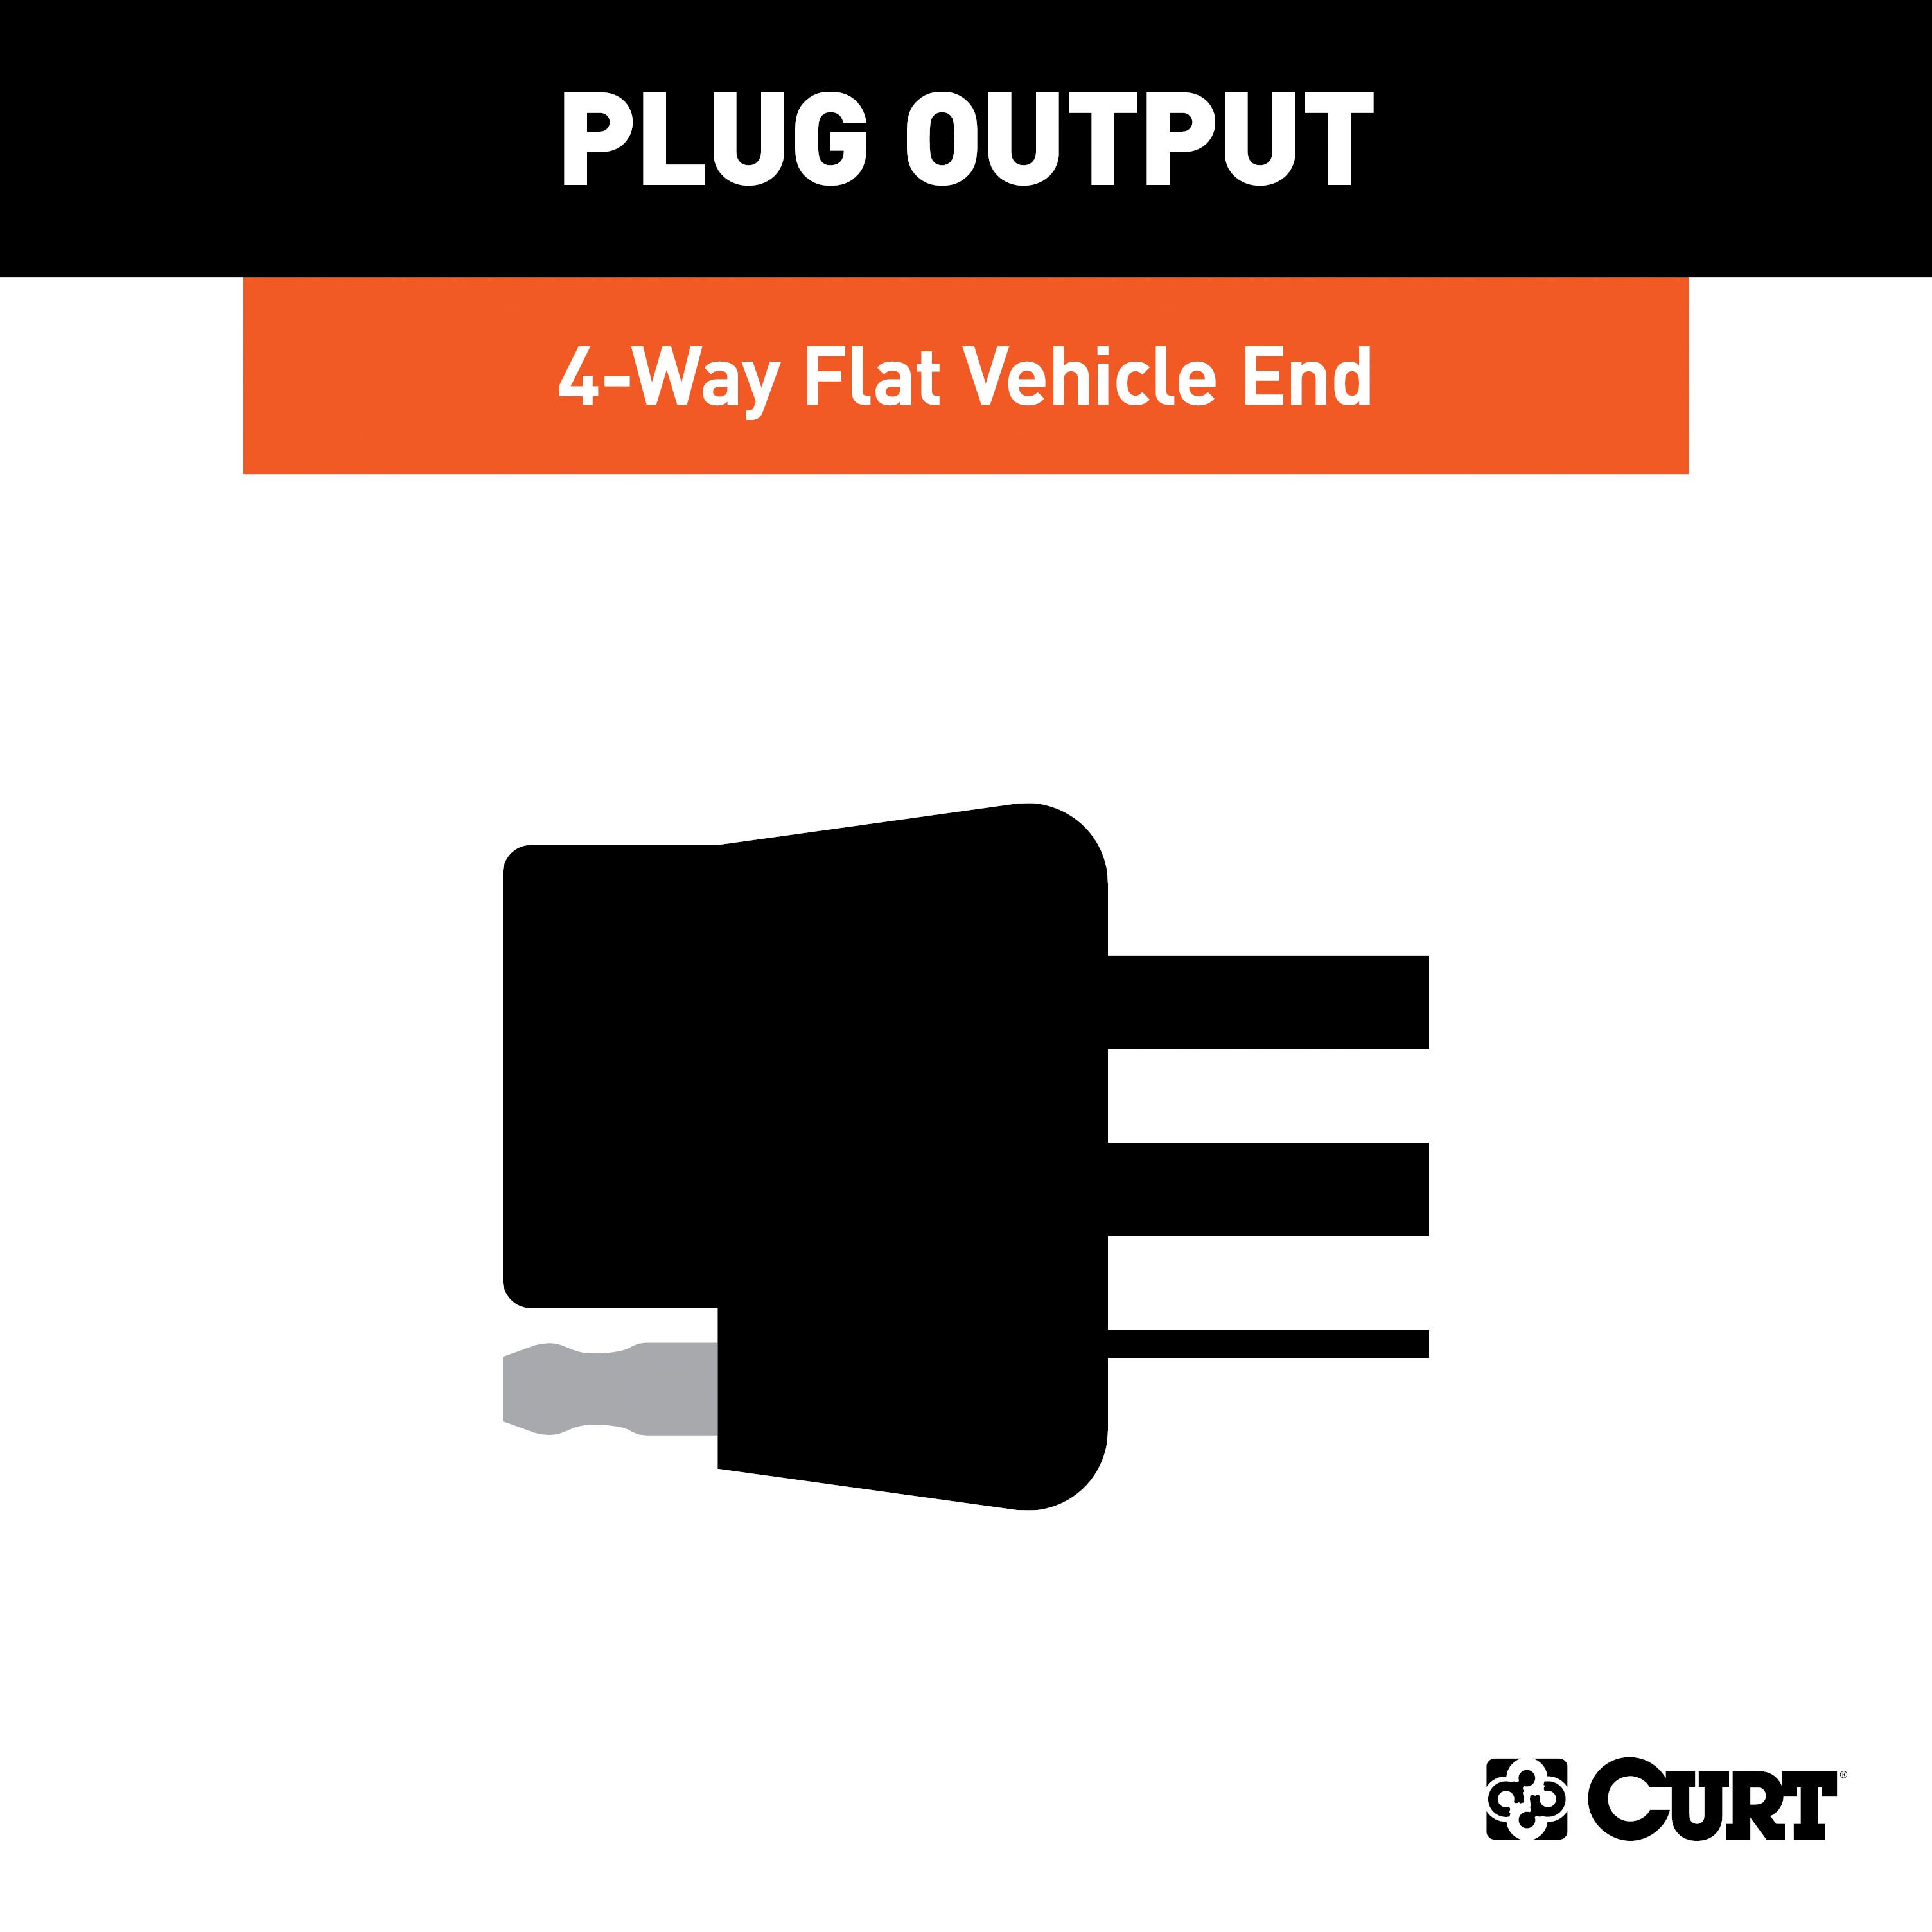
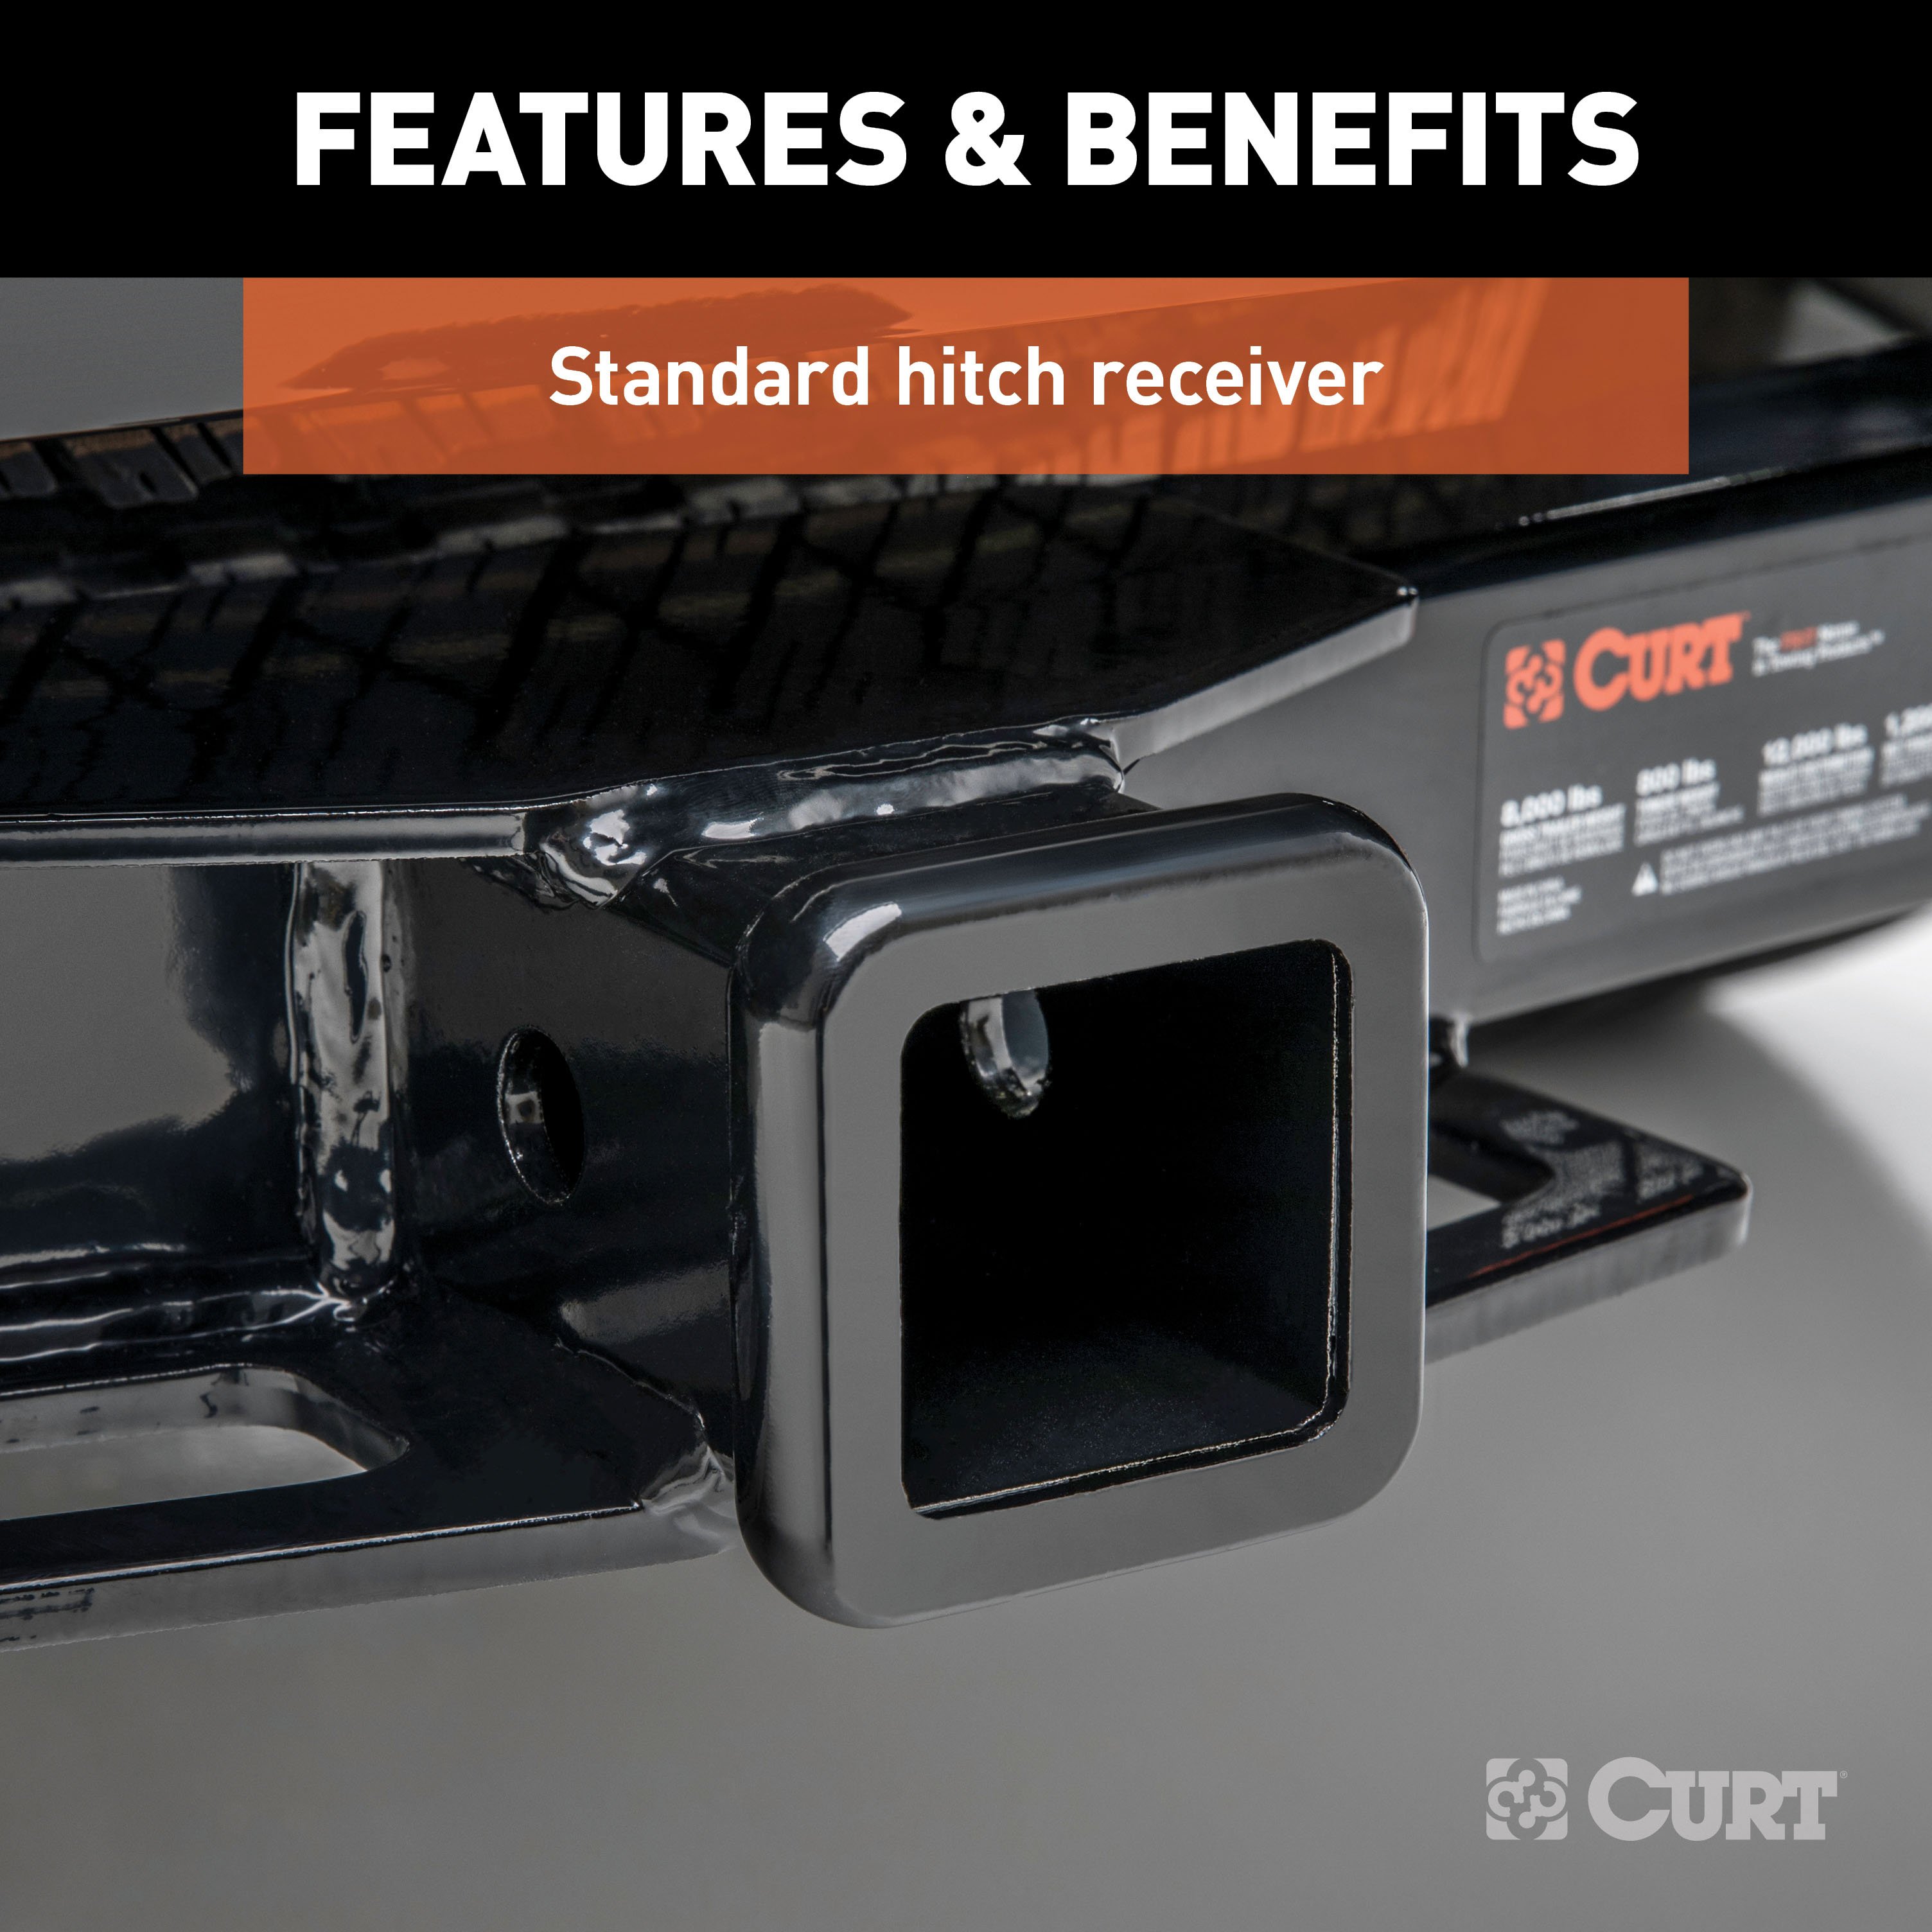
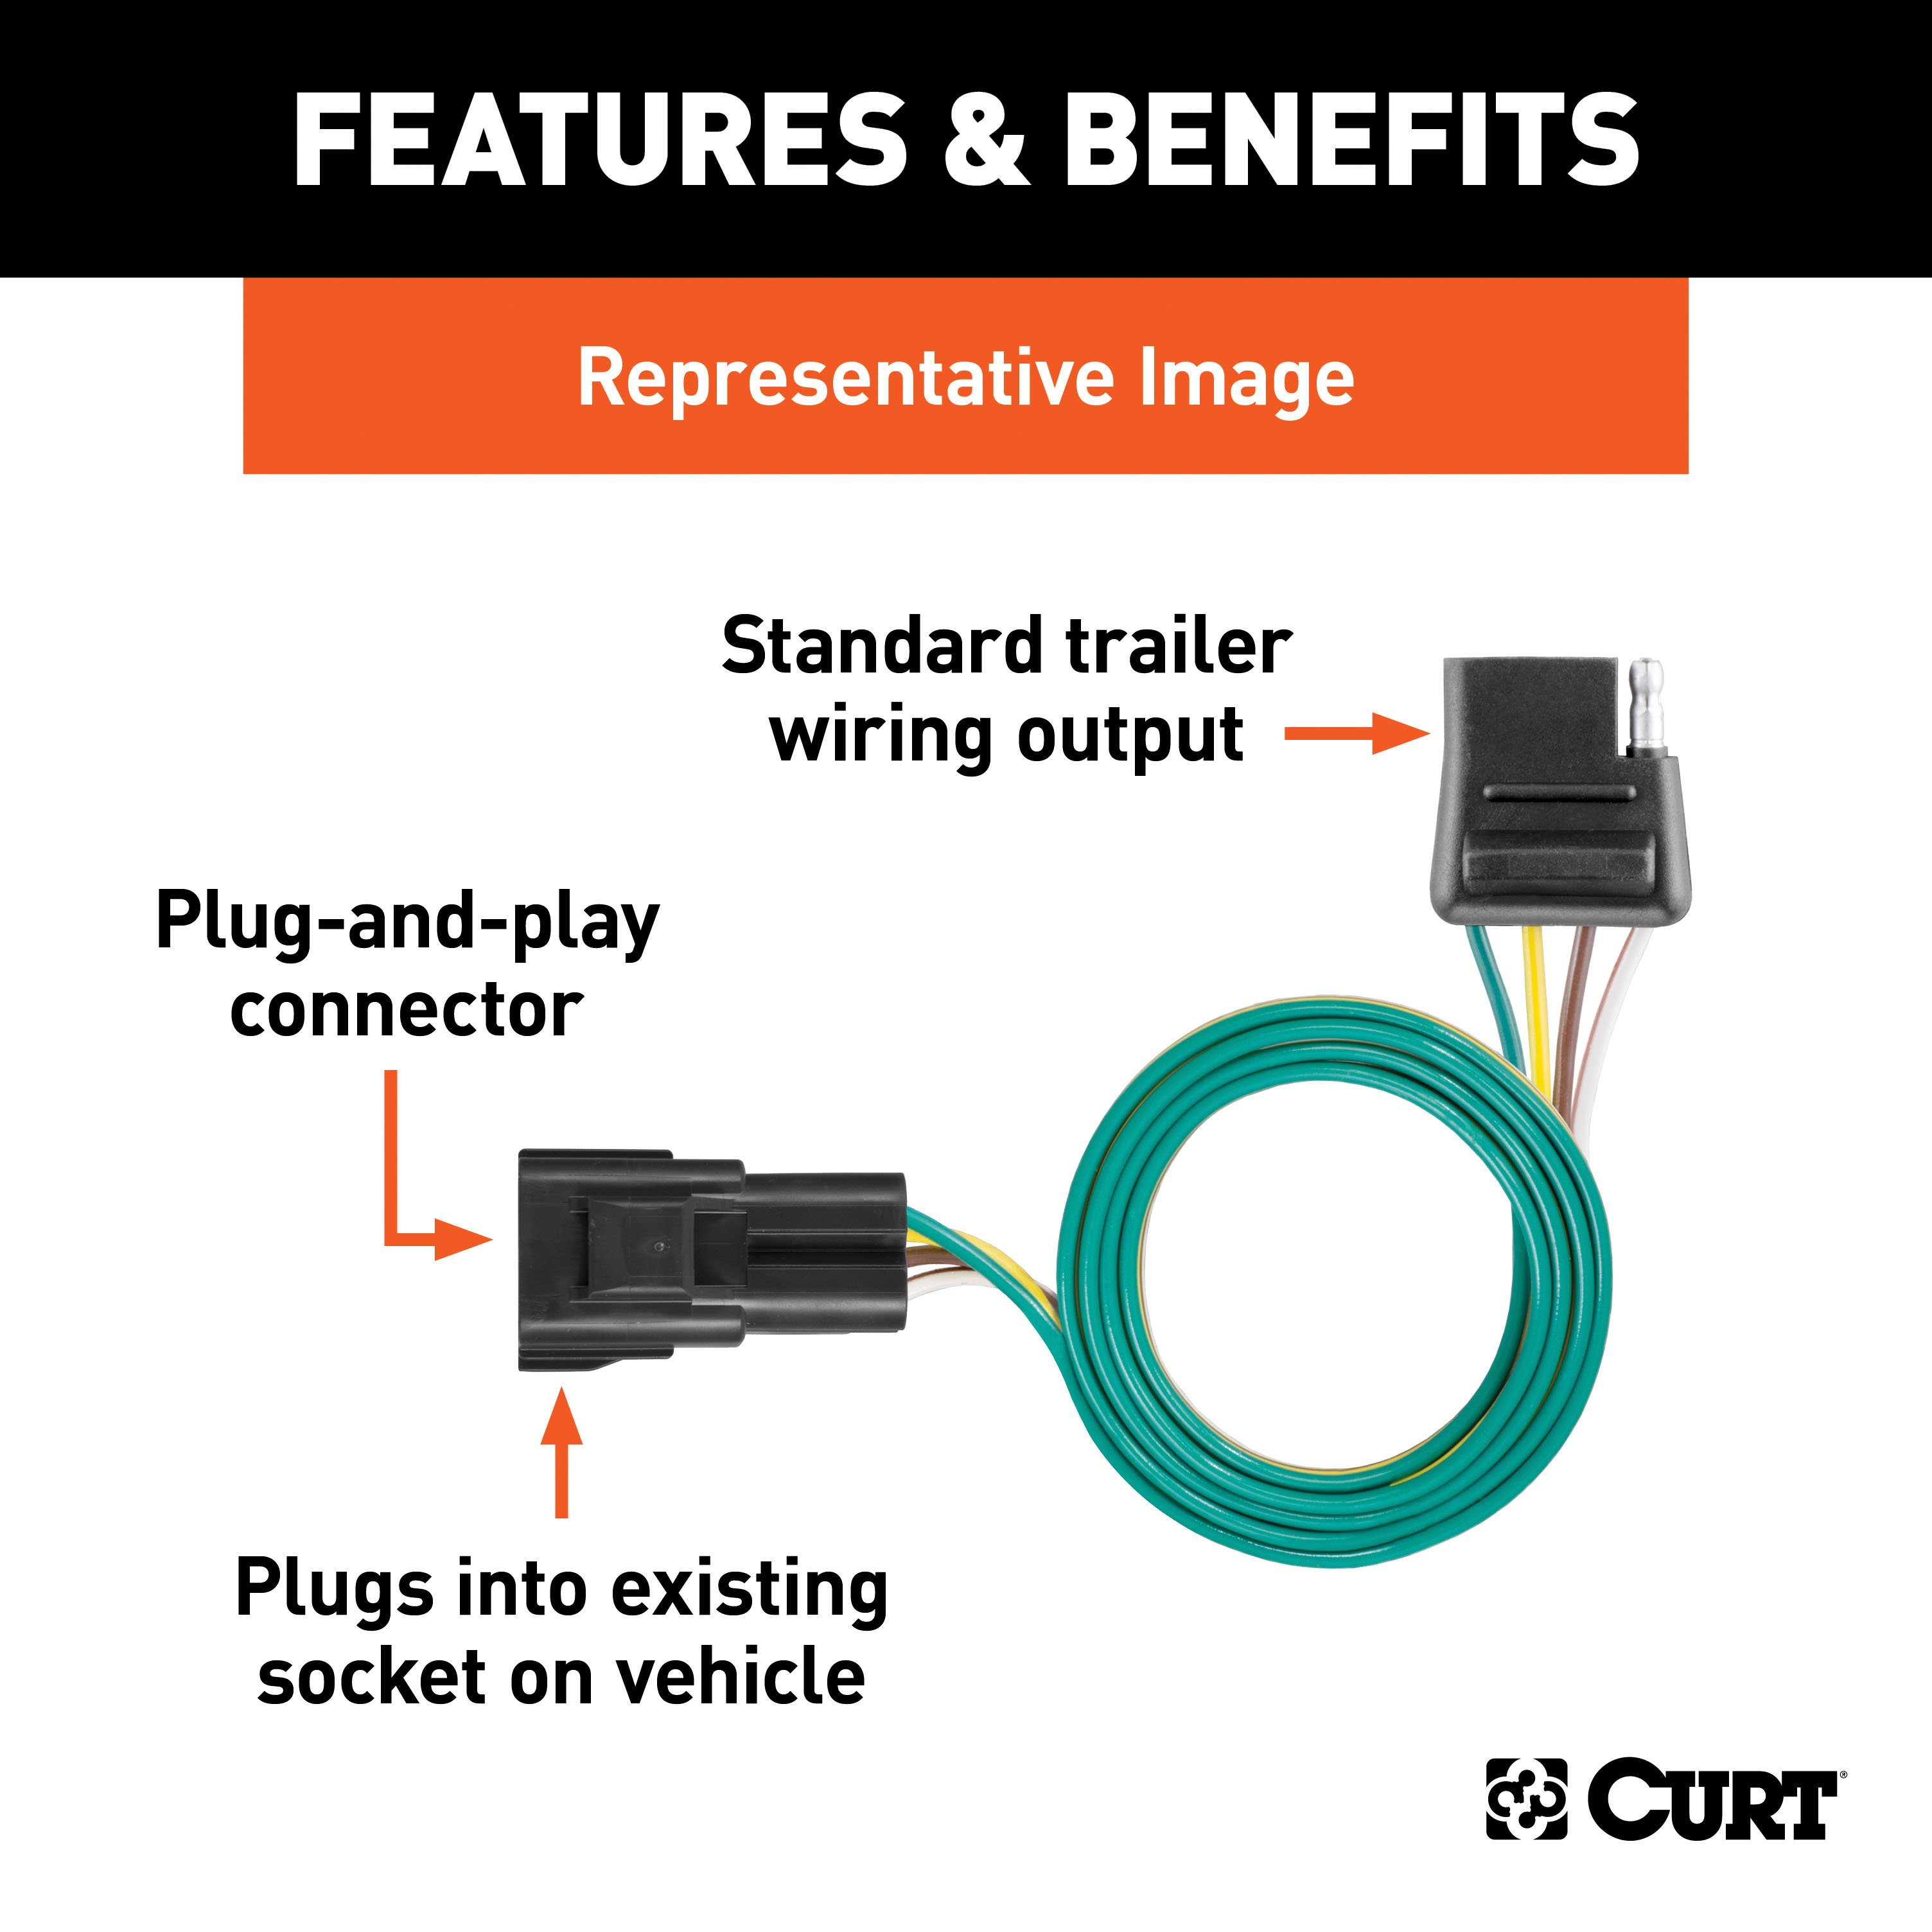
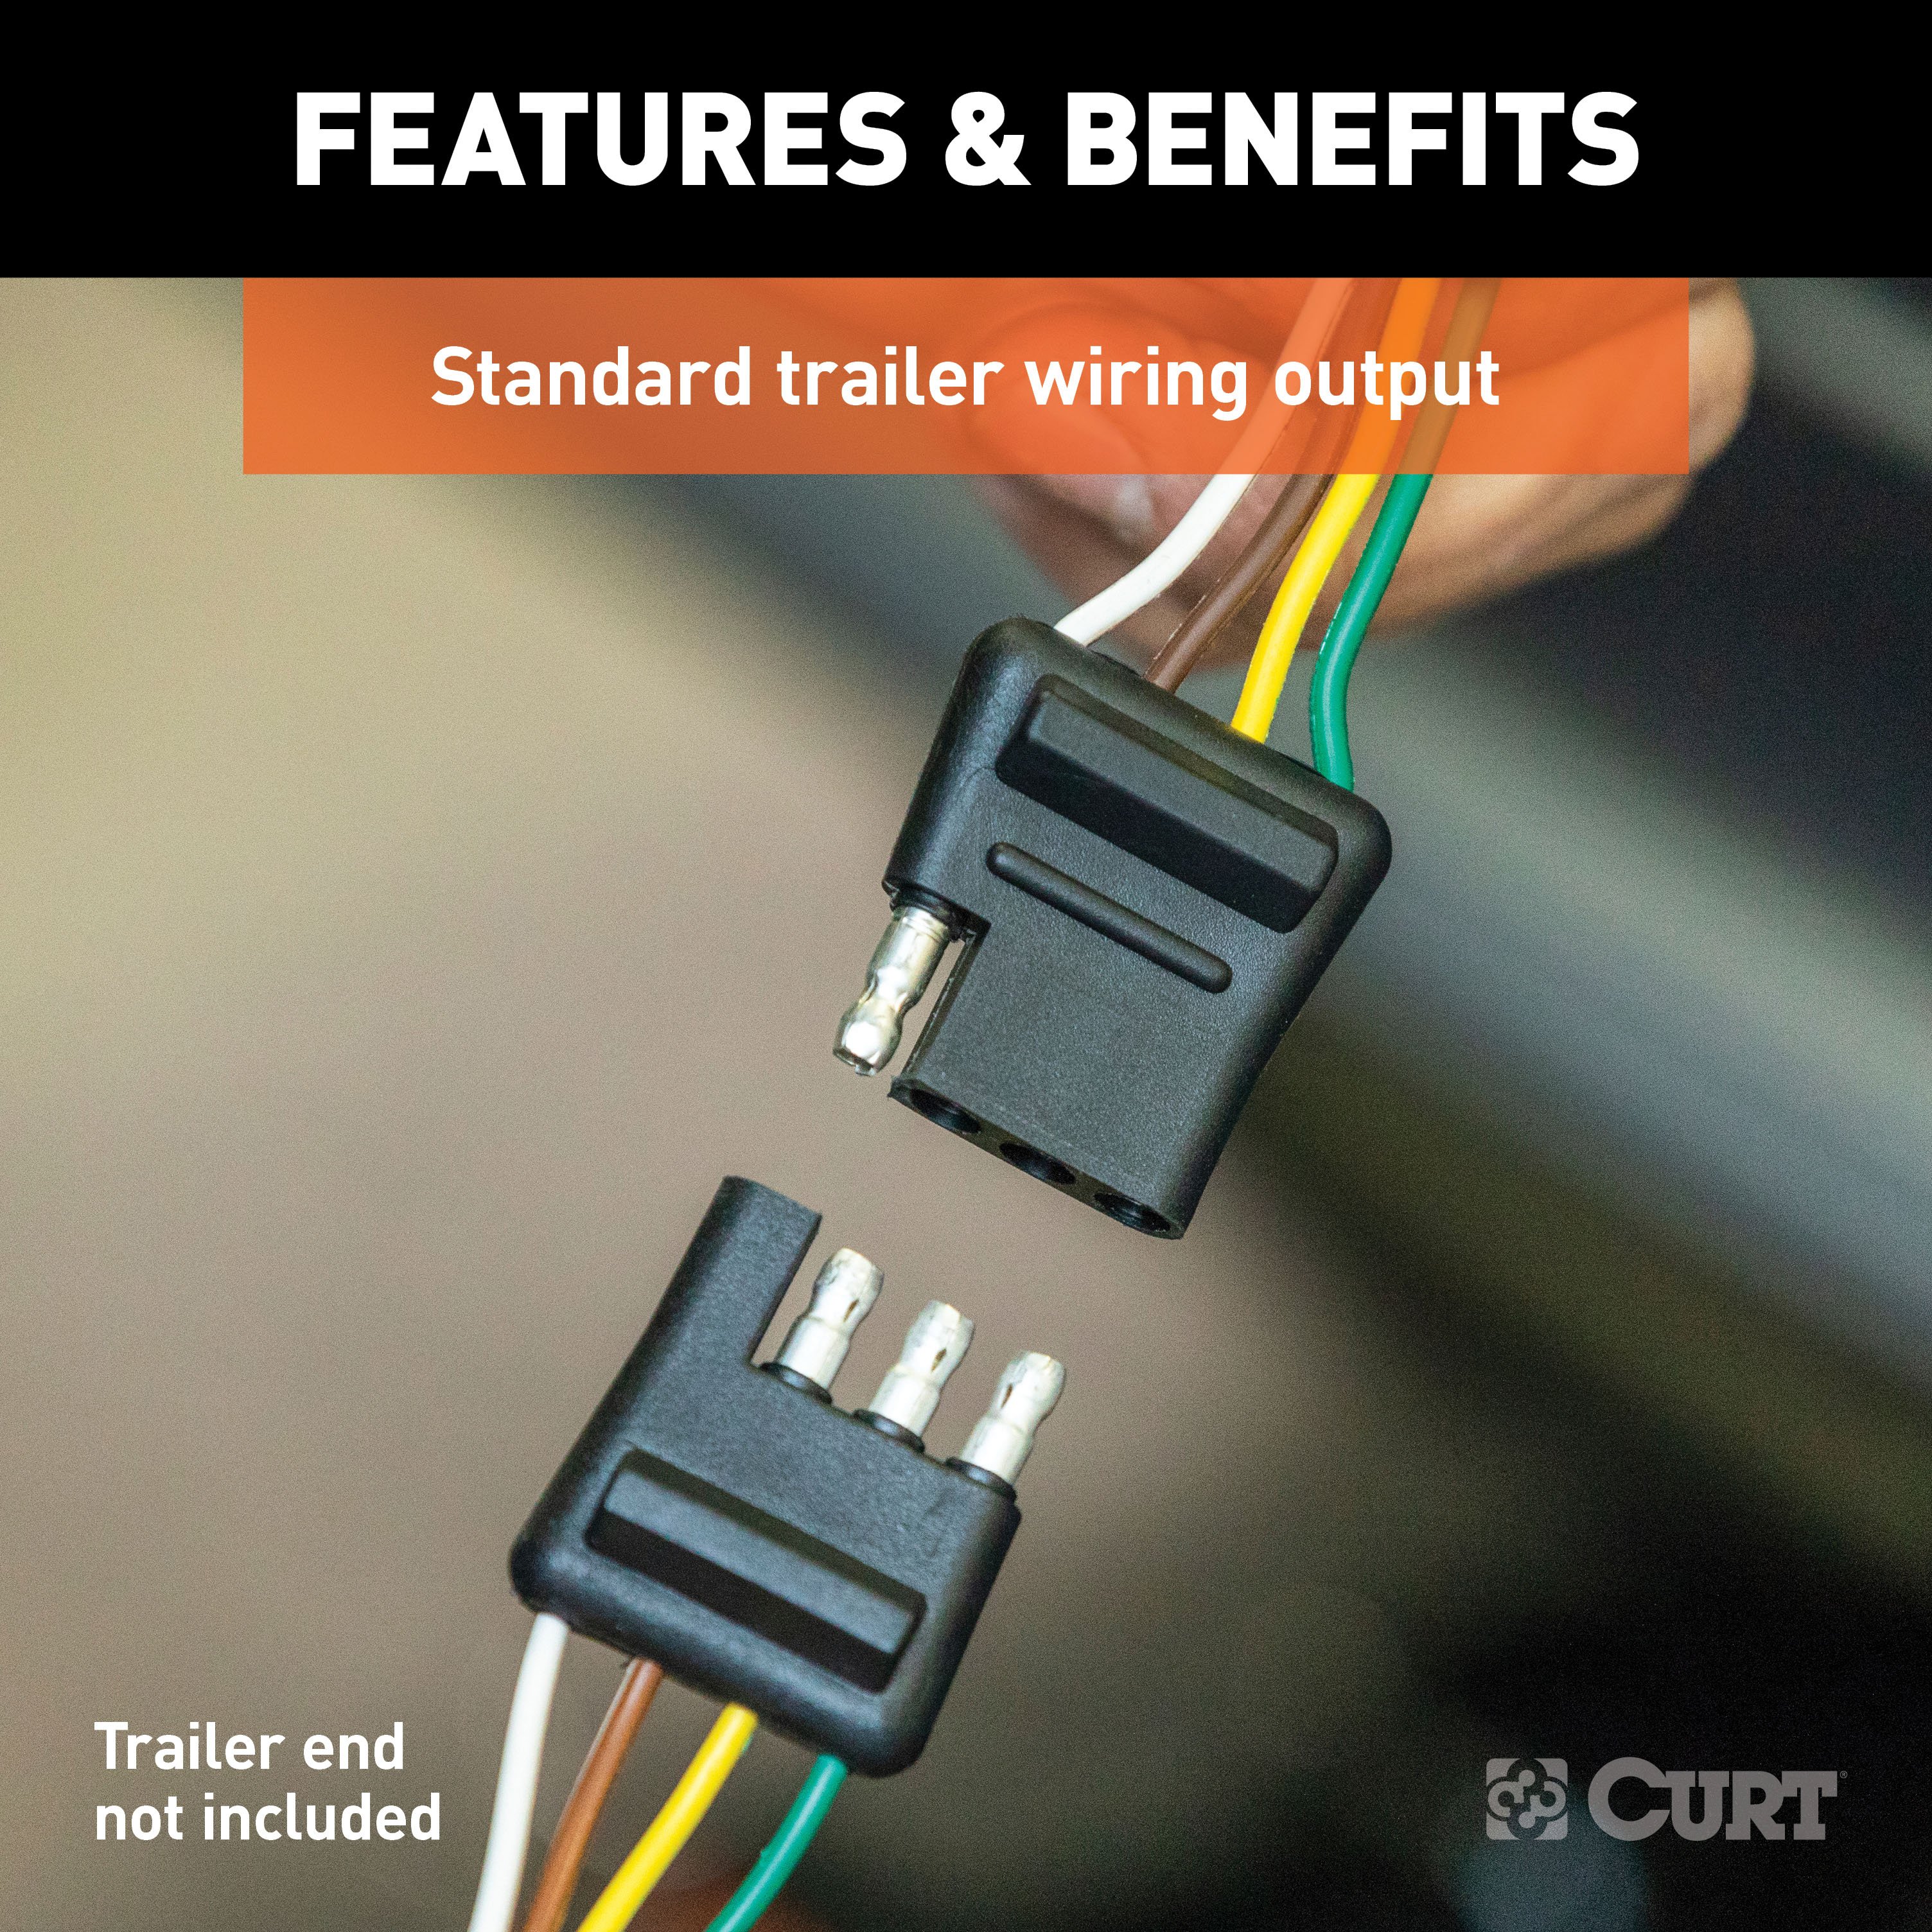
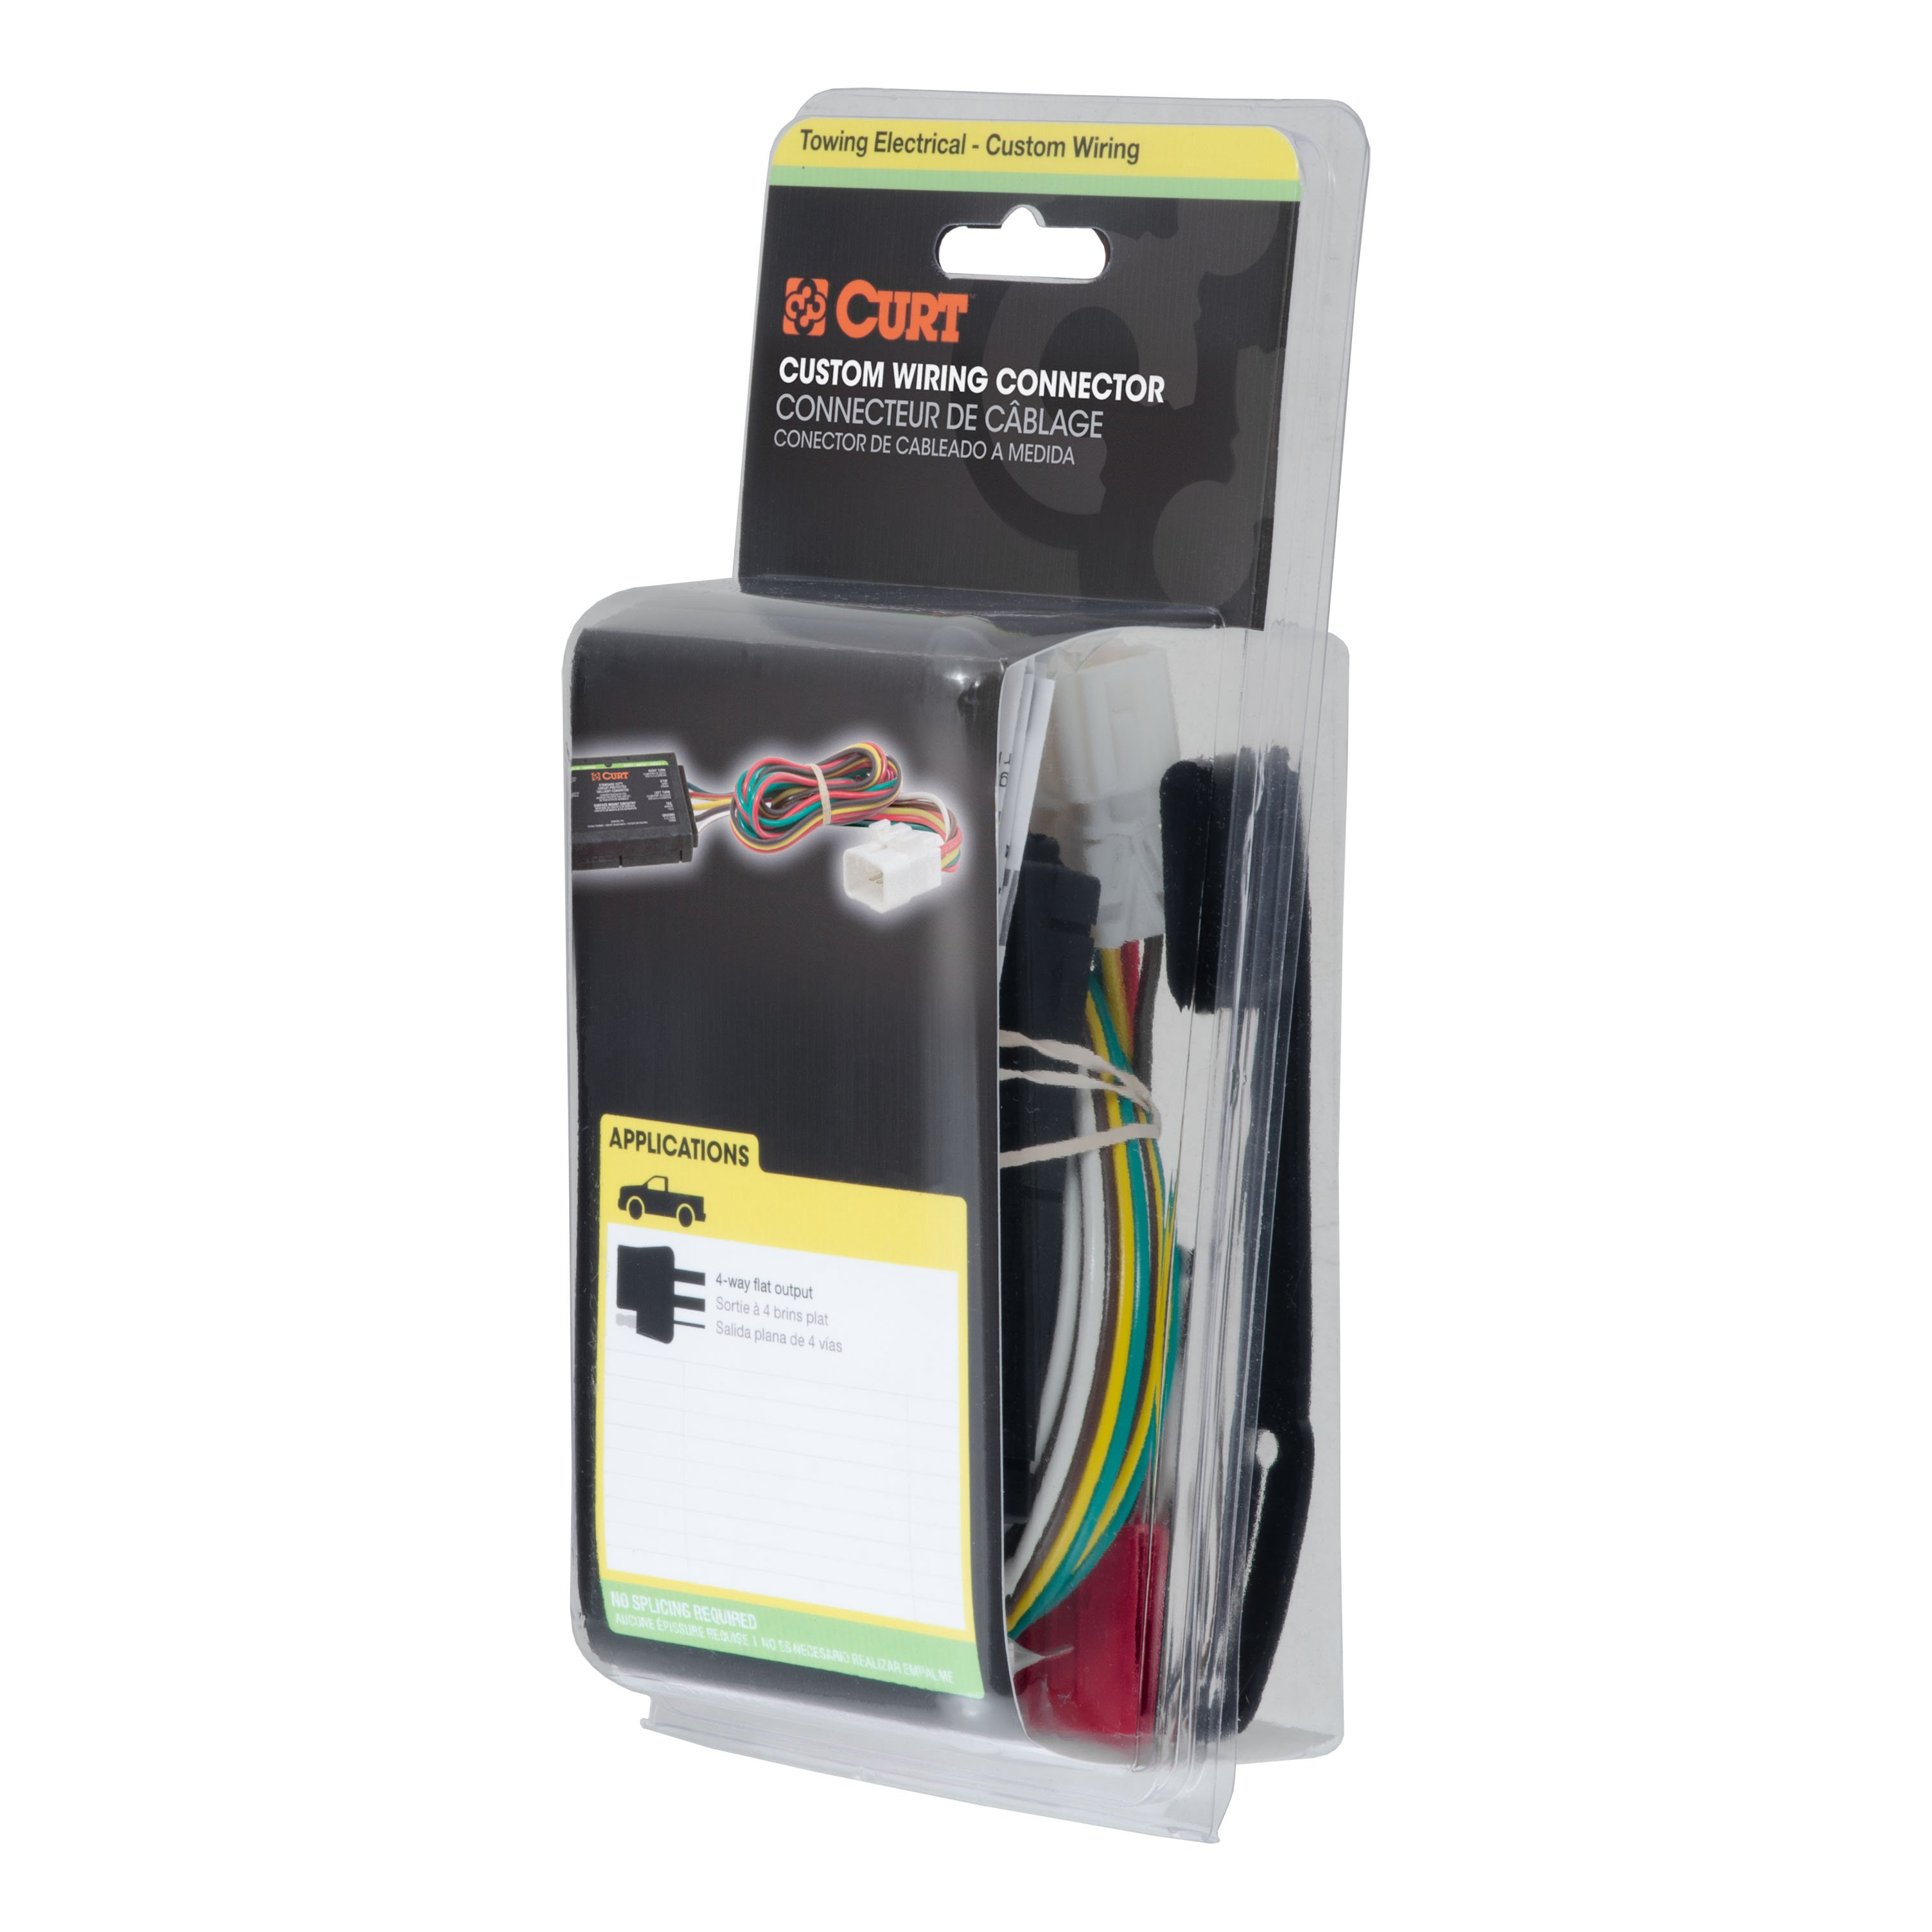
- Includes: Class 3 Trailer Tow Hitch, Custom 4-Flat
Compatibility Chart
Description
Get Expert Help
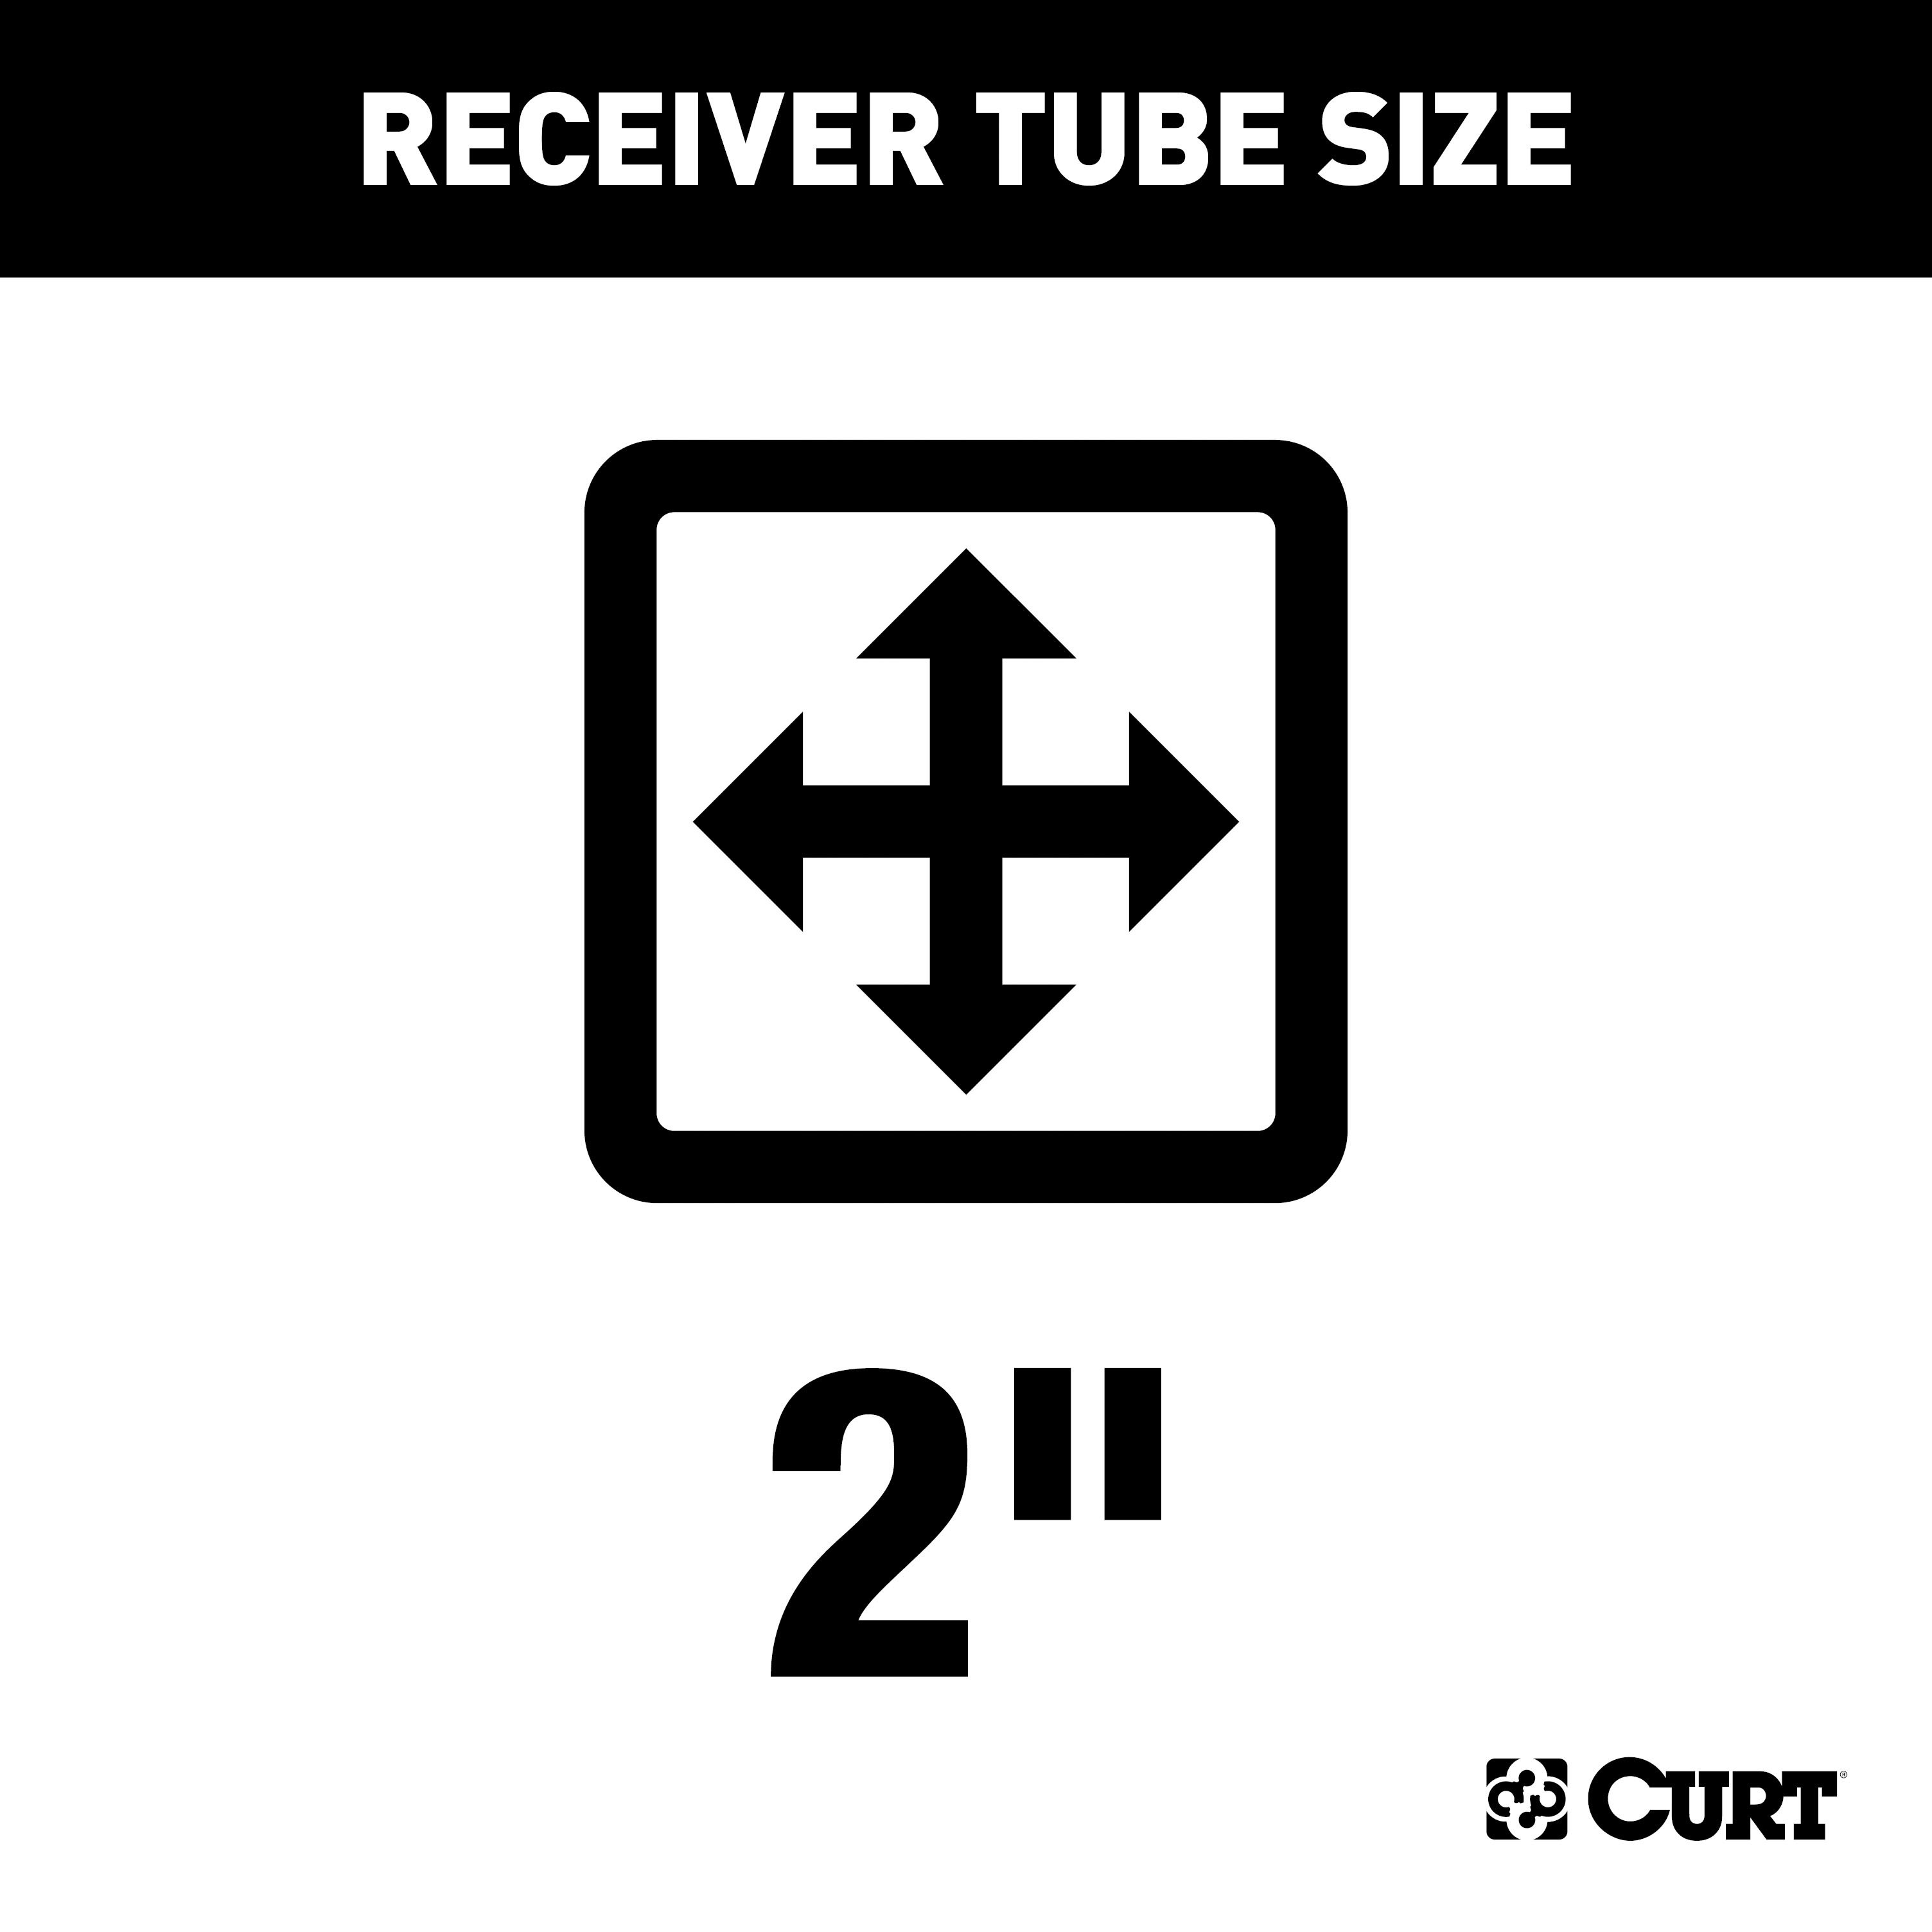
For 2016-2022 Lexus RX450h Trailer Hitch + Wiring 4 Pin Fits Models w/ factory Tow Package Excluding F Sport Curt 13515 56083 2 inch Tow Receiver Install Notes
Installation Instructions for Lexus RX350 / RX450h (2016-Present)
Part Numbers:
- 13515
Tools Required:
- Ratchet
- Reciprocating Saw / Hacksaw
- 10mm Socket
- 12mm Socket
- 17mm Socket
- 19mm Socket
- Flathead Screwdriver
- Socket Extension
- Tape
- Torque Wrench
- Marker
- Safety Glasses
Step-by-Step Instructions:
Step 1: Remove the Underbody Panel (Hybrid Models Only)
- Use a 10mm socket to remove 14 fasteners securing the underbody panel.
- Move the wheel well trim to the side to expose a push fastener and remove it.
- Set the panel and fasteners aside for reinstallation.
Step 2: Remove the Tie-Down Bracket
- On the passenger side, remove the tie-down bracket by removing two bolts using a 17mm socket.
- Return the tie-down to the vehicle owner.
Step 3: Access Weldnuts
- Use a flathead screwdriver to remove the two rear-most plastic caps on the driver-side frame rail to expose the vehicle weldnuts.
Step 4: Prepare Sensor Bracket (For Models After 2021)
- If present, remove two tabs from the sensor bracket located behind the lower fascia.
Step 5: Trim the Fascia (Hybrid Models Only)
- Locate the center line of the bottom edge of the fascia.
- Mark a 3" x 3" trim area and cut using a reciprocating saw or hacksaw.
- Avoid cutting the sensor bracket.
Step 6: Lower the Exhaust (Hybrid Models Only)
- Use a 12mm socket to remove two M8 bolts from the exhaust bracket on the passenger side.
- Set the bolts aside for reinstallation.
Step 7: Install the Hitch
- Raise the hitch into position and align it with the existing vehicle weldnuts.
- Secure the hitch using two M12 bolts and 1/2" conical washers on each side.
- Slight bending or modification to the exhaust heat shield may be needed to avoid contact with the hitch.
Step 8: Torque the Hardware
- Torque all M12 hardware to 79 ft-lbs.
Step 9: Reattach the Exhaust (Hybrid Models Only)
- Raise the exhaust back into position, aligning the exhaust bracket with the hitch mounting holes.
- Secure using the two M8 bolts removed earlier, along with 3/8" conical washers and M8 hex nuts.
- Torque all M8 hardware to 16 ft-lbs.
Step 10: Trim the Underbody Panel
- Mark the areas to be trimmed on both underbody panels using the trim diagram as a reference.
- Use a reciprocating saw or hacksaw to trim the marked areas.
Step 11: Reinstall the Underbody Panel
- Reinstall the underbody panel using all 14 fasteners removed in Step 1.
- To ease installation, slide the rear part of the panel into place first.
Hardware List:
- (4) M12 x 1.25 Hex Bolts
- (2) M8 x 1.25 Hex Nuts
- (2) 3/8" Conical-Toothed Washers
- (4) 1/2" Conical-Toothed Washers
Safety Notes:
- Wear safety glasses during installation.
- Periodically inspect the hitch to ensure all mounting hardware is tight and structural components are sound.
Warnings:
- Do not exceed the vehicle manufacturer's recommended towing capacity.
- Use caution when trimming the lower fascia or underbody panels.
Specifications:
- Weight Carrying:
- Gross Trailer Weight: 3,500 lbs
- Tongue Weight: 525 lbs
- Weight Distribution:
- Gross Trailer Weight: 4,000 lbs
- Tongue Weight: 525 lbs
- Complies with SAE J684 and V.E.S.C. Regulation V-5
Additional Notes:
- Attention: This is a summary of the installation procedure. For complete installation instructions, including diagrams and detailed information from the manufacturer, please download the full installation PDF.
- For Technical Support: Our team of experts is available to help. You can reach tech support by visiting www.trailerjacks.com or calling 877-869-6690.
- Warranty Information: For complete warranty instructions, please download the full installation PDF.
Installation Instructions for Lexus RX 350 (with Tow Package) and Lexus RX 450h
Part Number:
- 56083
Tools Required:
- None
Electrical Ratings:
- Check vehicle owner's manual or contact the vehicle manufacturer for more information.
Wiring Access Location:
- SUVs, Mini & Full-Sized Vans (S):
- S5: Behind driver-side rear bumper
Step-by-Step Instructions:
-
Locate the Taillight Wiring Connector:
- Locate the vehicle’s taillight wiring connector behind the driver-side rear bumper.
- The connector will resemble the custom wiring connector plug.
- Remove the protective cap from the vehicle plug and set it aside.
-
Insert the Custom Wiring Connector:
- Insert the custom wiring connector end into the vehicle’s taillight wiring connector.
- Ensure the connectors are fully inserted with the locking tabs in place.
-
Position the 4-Flat Connector:
- When in use, route the 4-flat connector to the center of the vehicle and out of the trunk.
- When not in use, roll up and store the connector in a convenient, out-of-the-way location inside the trunk.
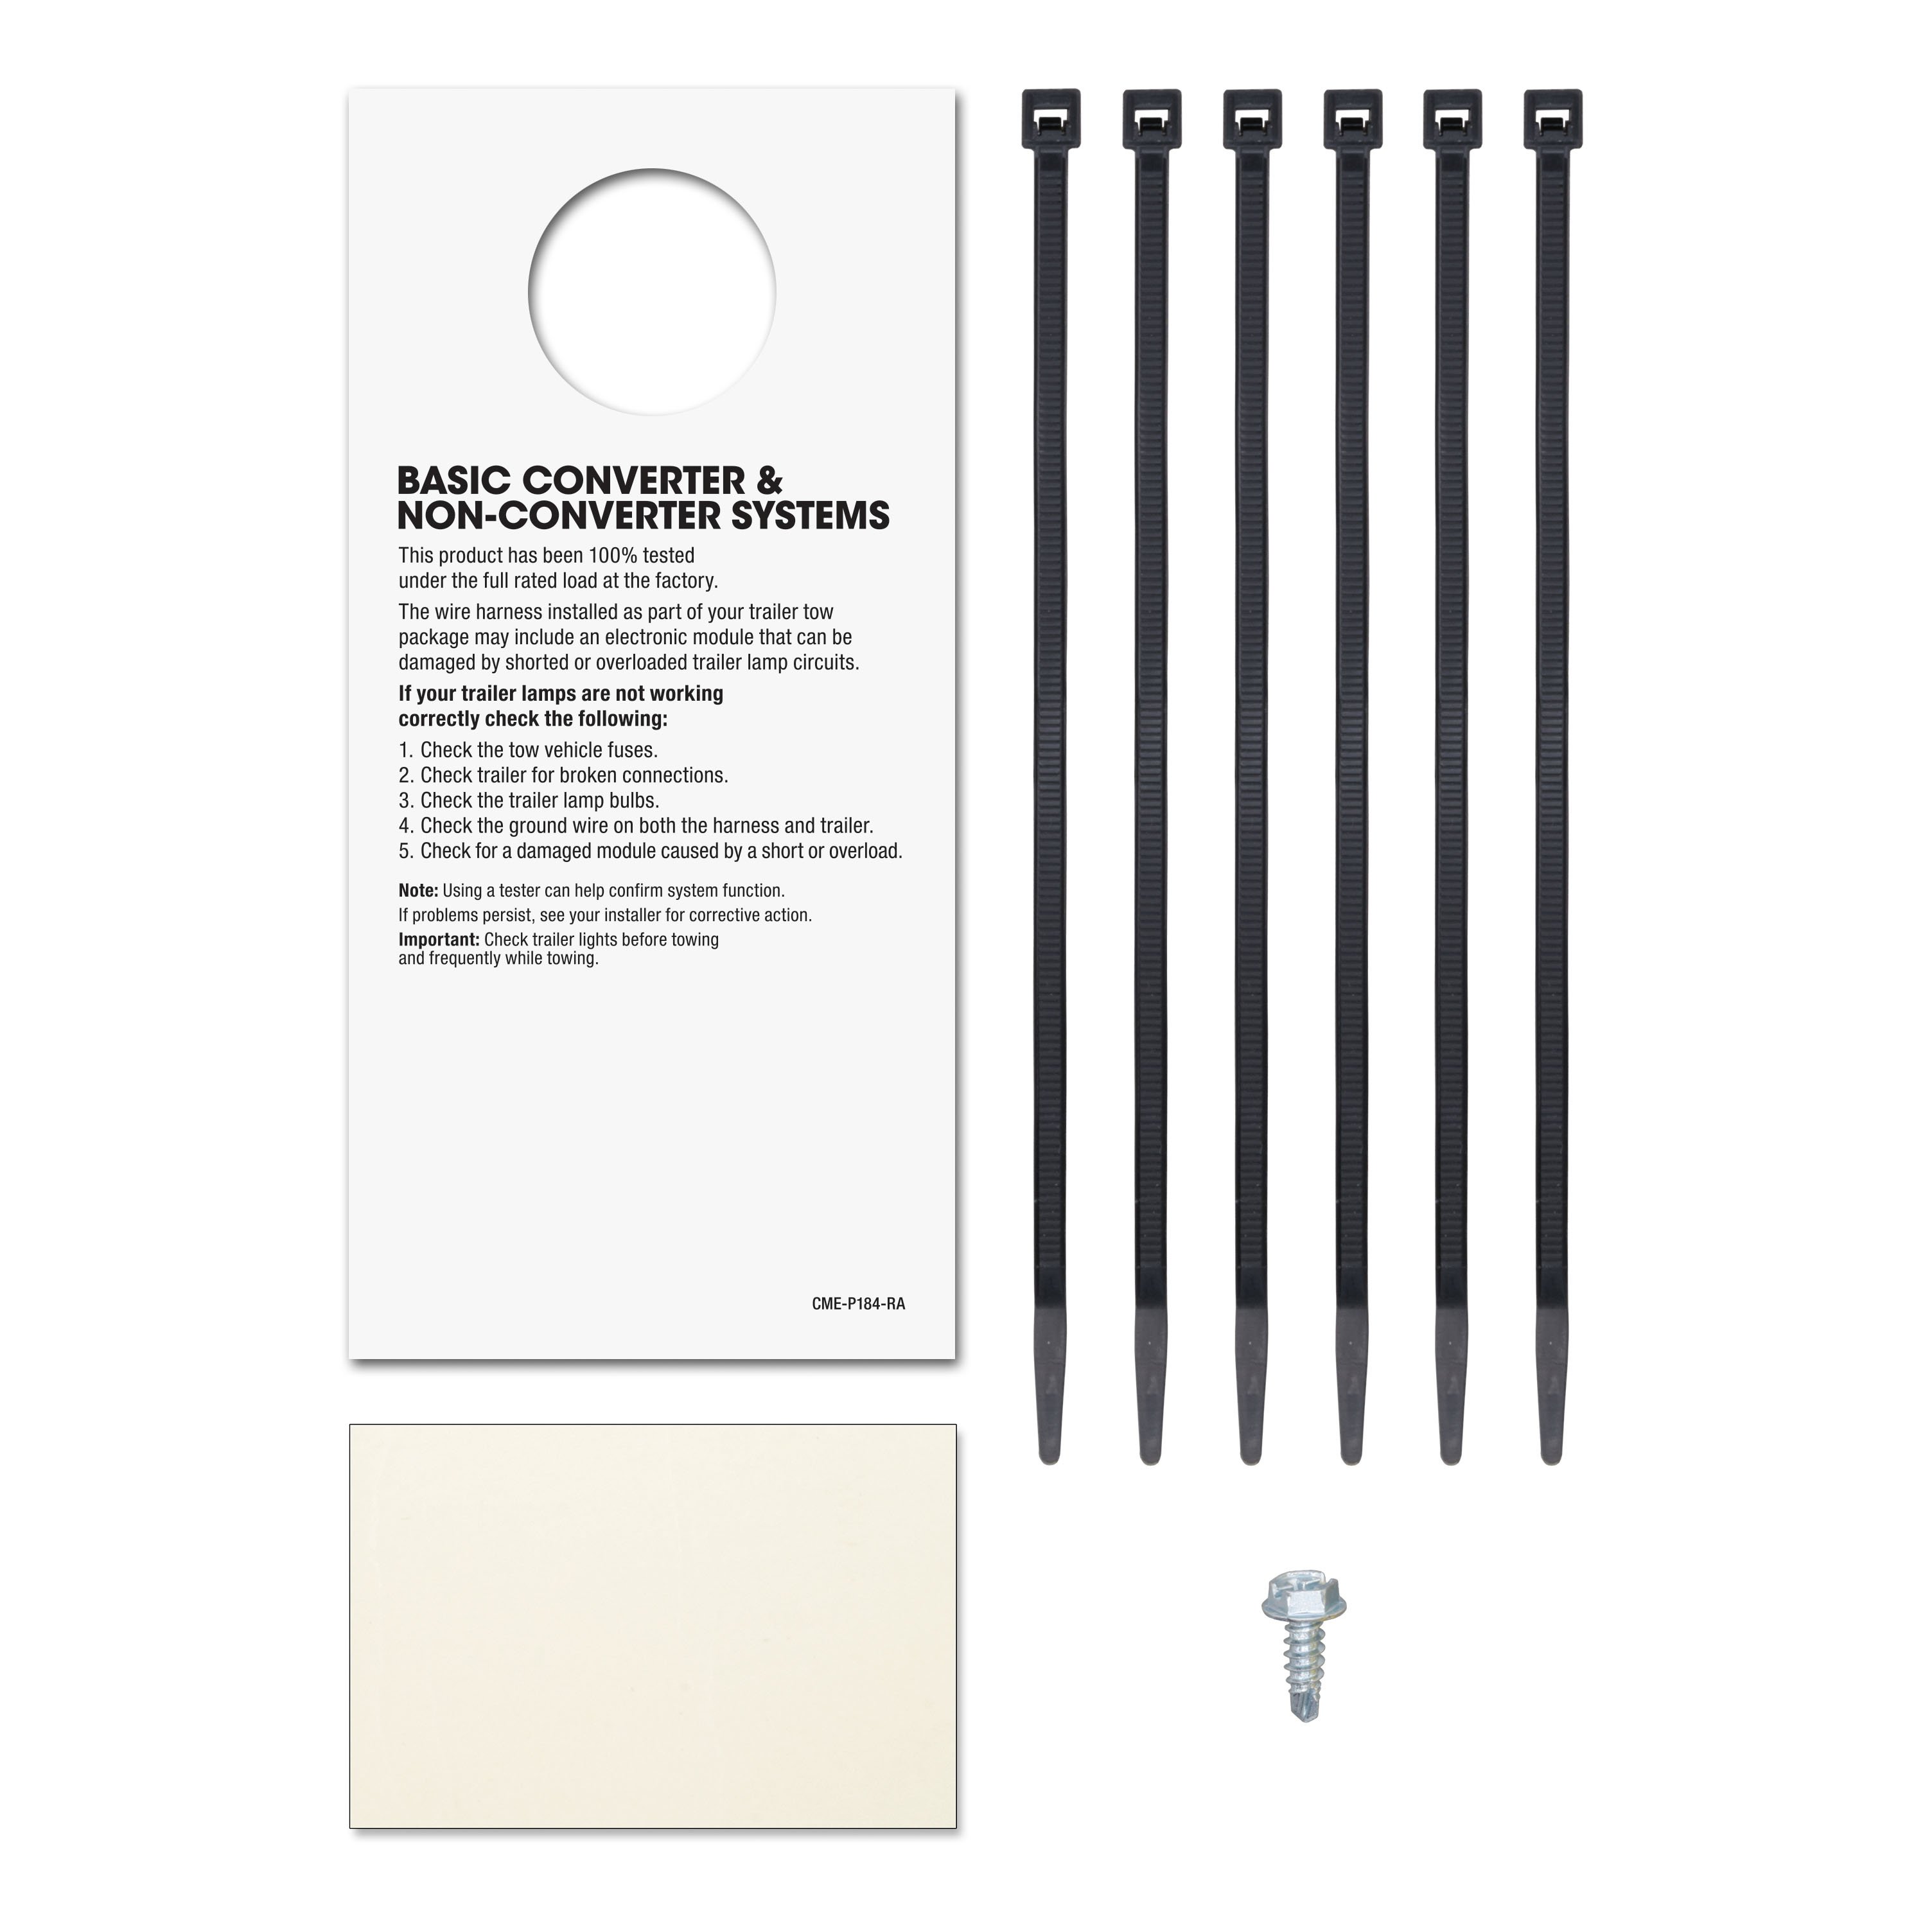
- Secure any loose wires with the provided cable ties.
-
Program the Vehicle (if Necessary):
- Some models may require programming to accept the new custom wiring connector.
- If necessary, this programming must be completed by a dealer.
-
Reinstall and Test:
- Reinstall all items removed during the installation.
- Install the provided 4-flat dust cover to help prevent corrosion.
- Test for proper function using a test light or by connecting a properly wired trailer.
Safety Notes:
- Warning: Do not exceed the product rating or the tow vehicle lamp load rating, whichever is lower.
- Exceeding the product rating may cause overheating, fire, or loss of warranty.
- Ensure all steps are followed for proper installation and function.


